Audio Visualiser Plugin
Animate anything you can think of with maximum customizability.

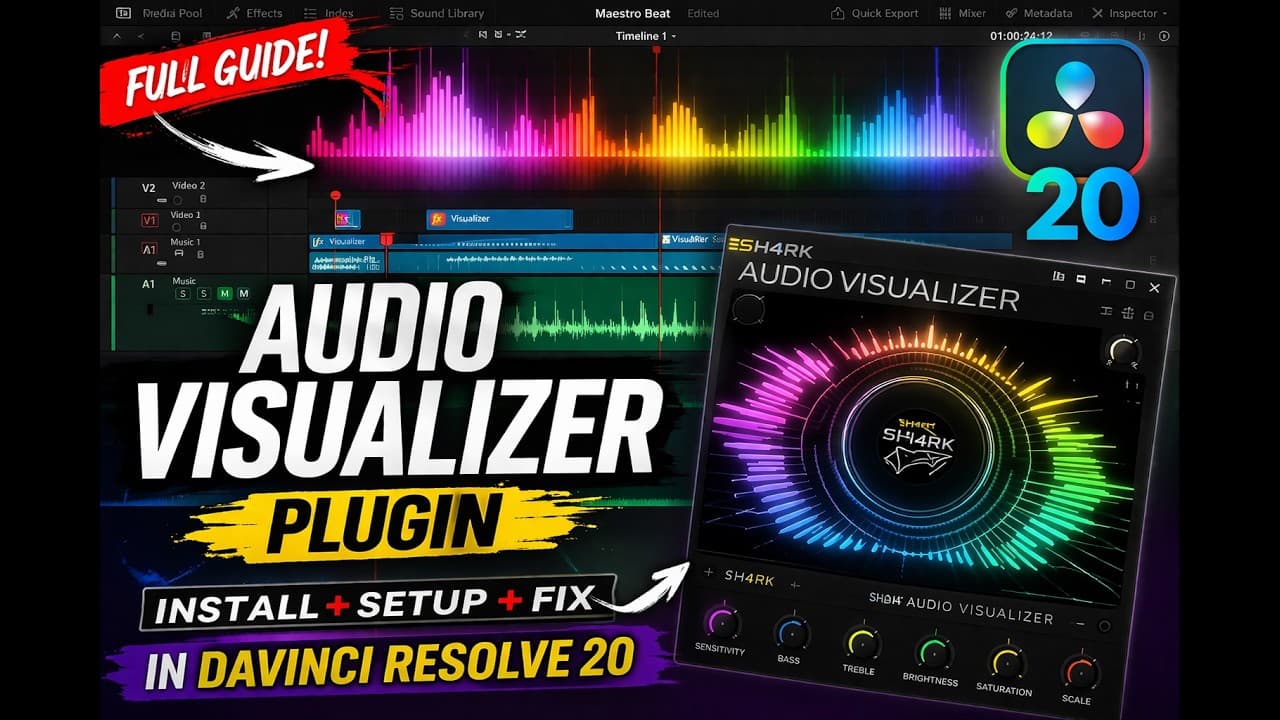
Watch the tutorial
Learn everything you need to know about sh4rk's Audio Visualiser Plugin. This guide covers installation, setup, and tips for creating professional reactive visuals.
Features
Real-time Playback
After months of intensive development, the system is now highly optimized, allowing you to achieve real-time audio visualization in seconds.
Highly Customizable
Fine-tune every aspect with intuitive controls for smoothness, EQ, and more to achieve any visual style imaginable.
Animate Everything
Control images, videos, text, or any node with animatable parameters for limitless creative possibilities.
Drag & Drop Workflow
The Full Edition provides a seamless drag-and-drop Edit Page version, significantly accelerating your overall production speed.

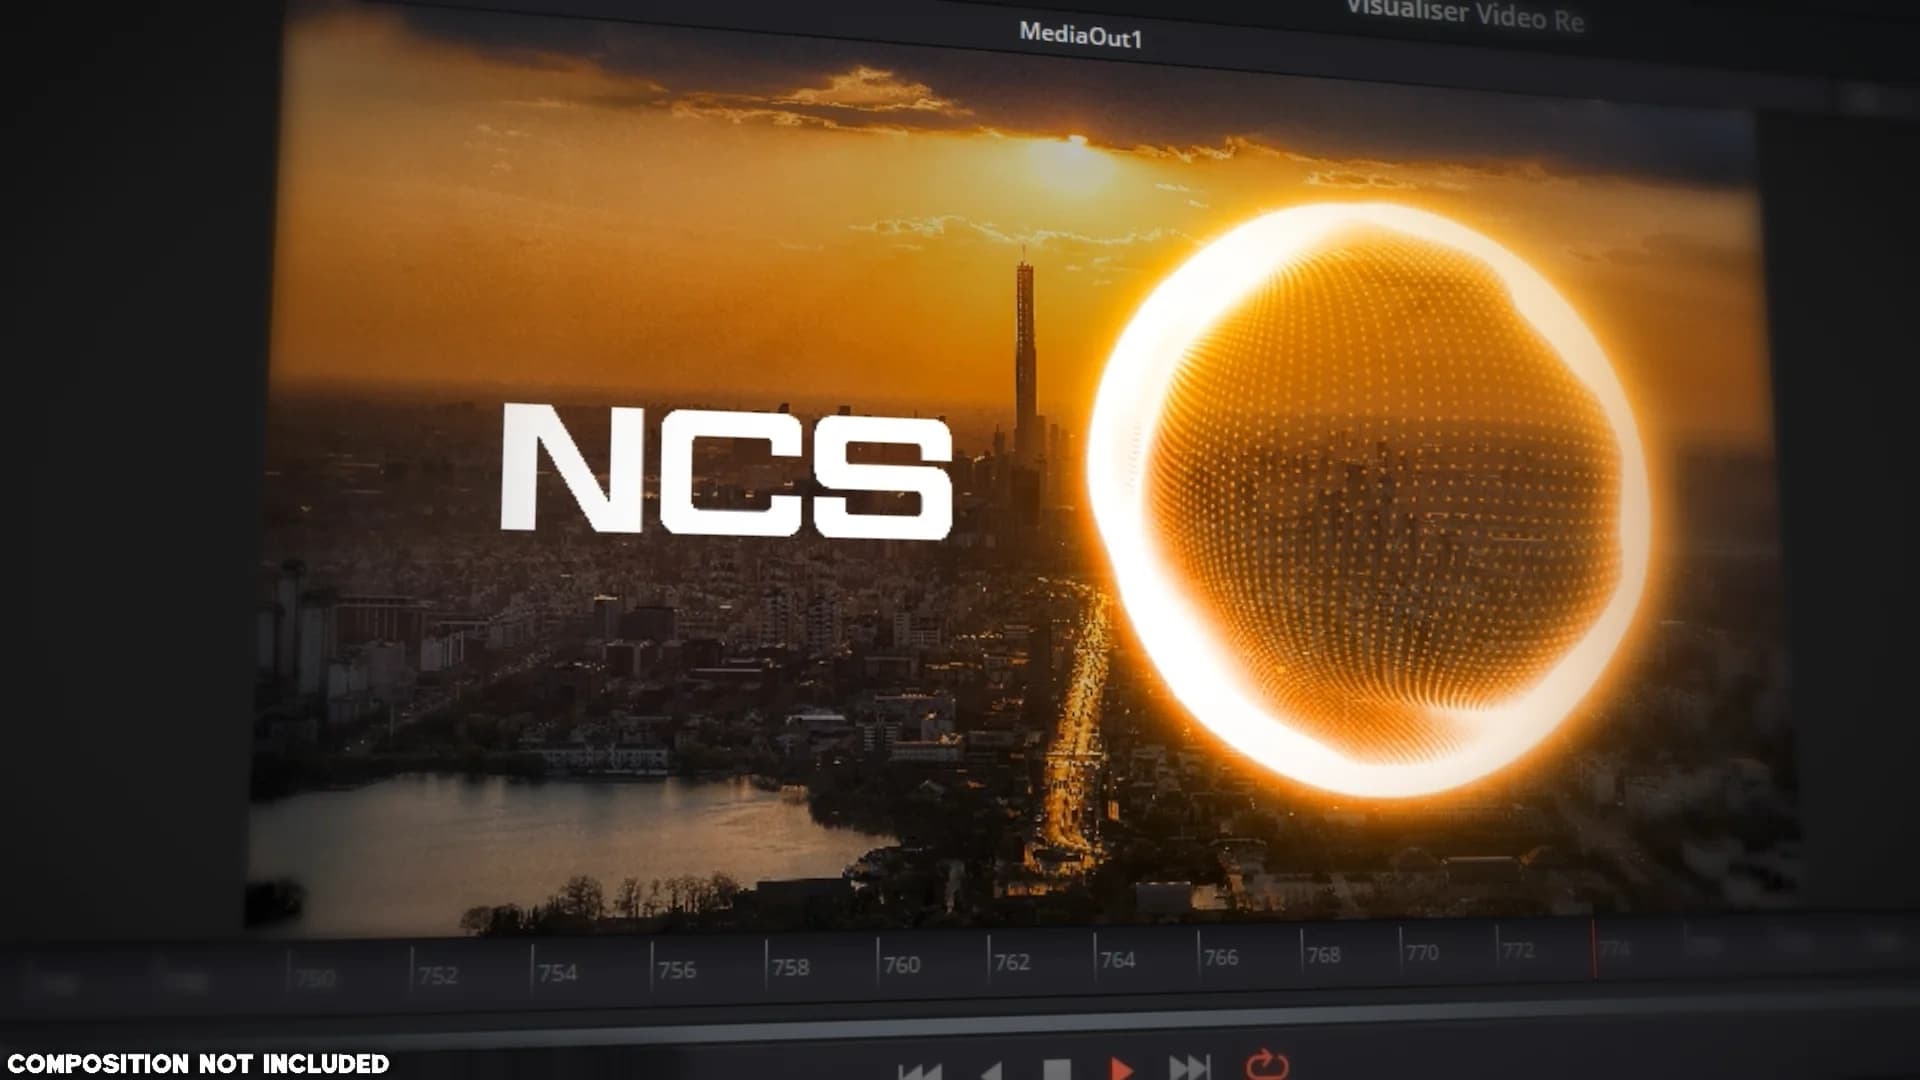
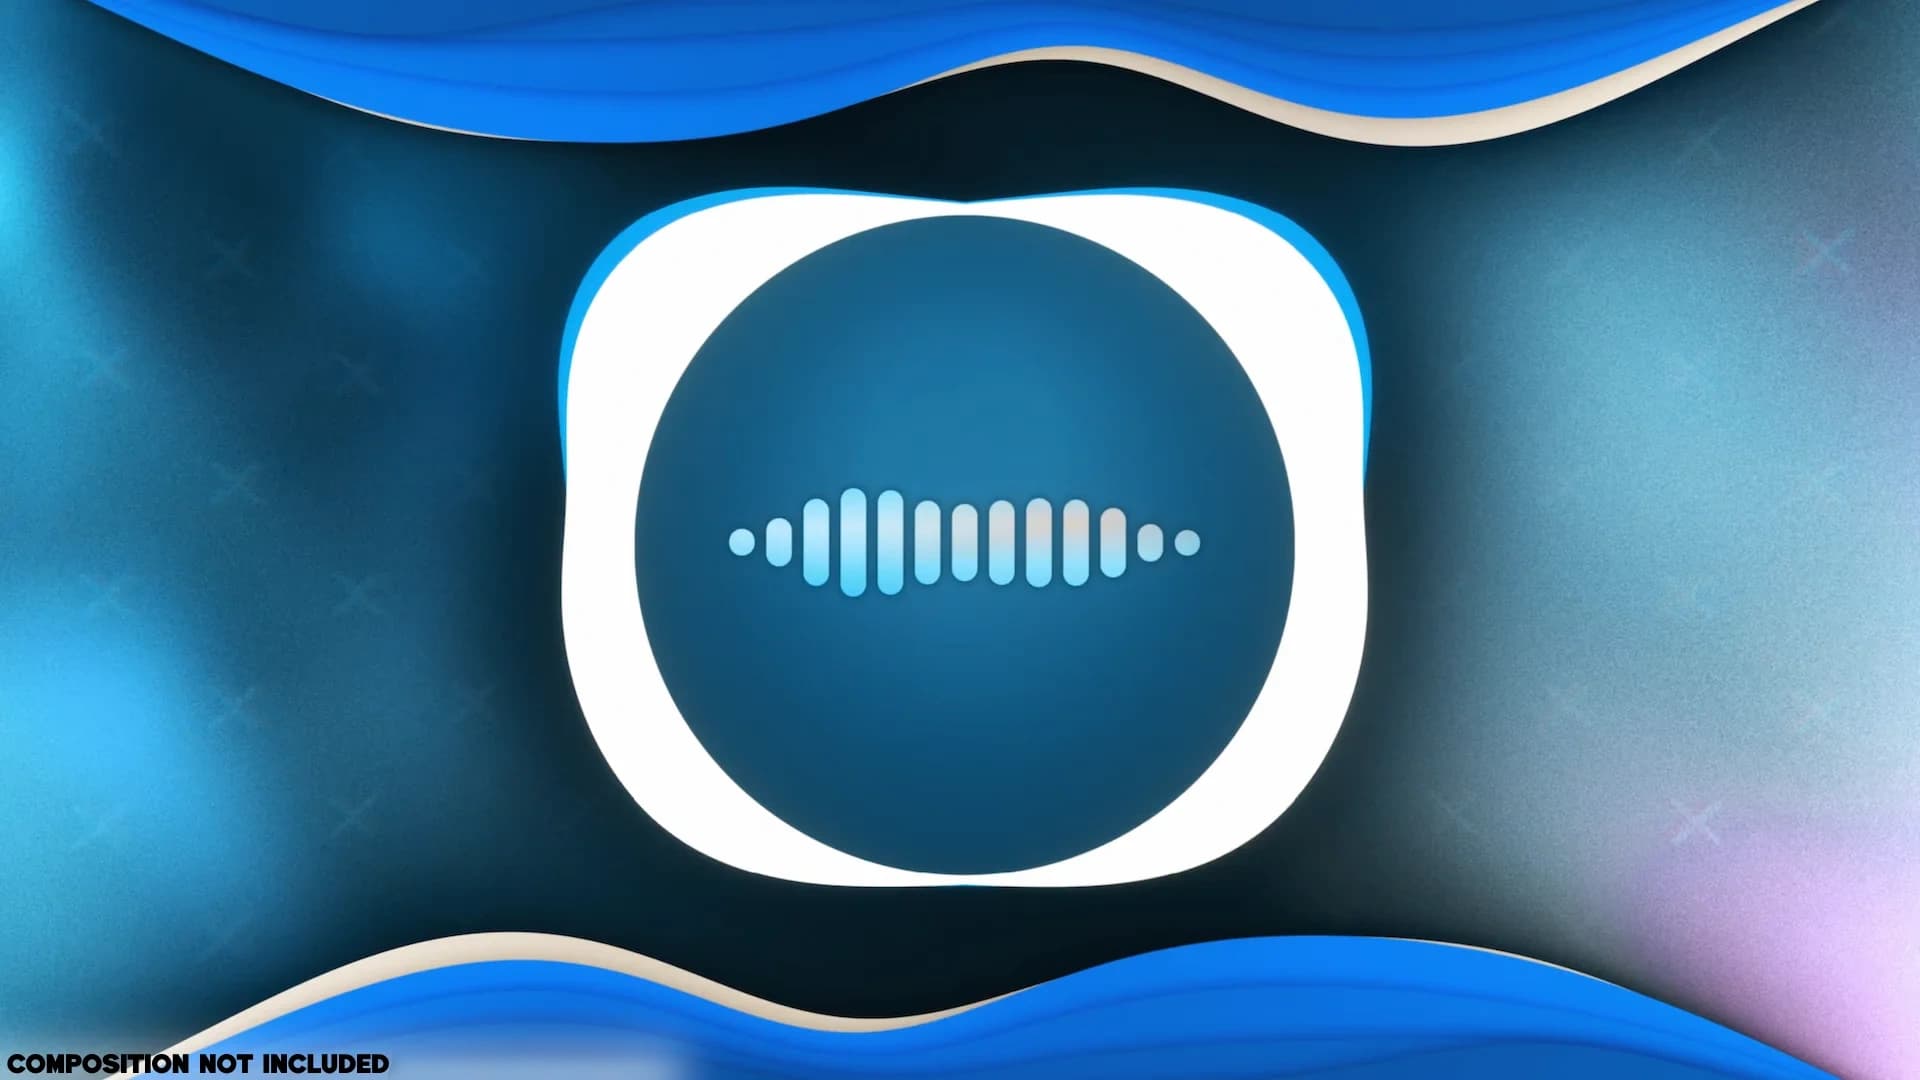
Gallery

Free vs Full Edition
Compare the versions to find the right workflow for your specific production needs.
| Feature | Free Edition | Full Edition |
|---|---|---|
| Fusion Macros | 70+ | 70+ |
| Edit Page Visualizers | 0 | 18 |
| Edit Page Visualizer Effects | 0 | 7 |
| Core Workflow Nodes | ||
| Real-time Sync System | ||
| Full Creative Control | ||
| Skill Requirement | Advanced Fusion | None (Drag & Drop) |
| Exclusive Visualizers | ||
| Full Edit Page Support | ||
| Performance Optimized | ||
| Setup Time | Minutes | Seconds |
Free Edition
Ideal for Fusion experts who need the core tools to build custom reactive scenes from scratch. The Free edition includes 70+ Fusion Macros and requires manual node setup and expression management.
Full Edition
The definitive experience for professional workflows. Includes 70+ Fusion Macros, 18 drag-and-drop visualizers, and 7 Edit Page Effects. Skip the complexity with pre-built templates and exclusive visualizers.
Reviews
Give it a review
Reviews are checked before they go live to keep things genuine.
How To Install & Setup
Preparation
- 1Download and extract the 'sh4rk's Audio Visualiser Plugin' package.
- 2Open DaVinci Resolve.
- 3Create a new timeline and navigate to the Fusion page.
Automatic
- 1Open the extracted folder and drag the installer.lua file from the Installer folder into the nodes area.
- 2Follow the prompts to complete the automated installation.
- 3Restart DaVinci Resolve.
- 4To verify, open the Fusion page and press Shift + Space and search for 'vz_'.
Manual
- 1From the extracted folder, open the Macros folder.
- 2Copy the 'Audio Visualiser Plugin' folder.
- 3Navigate to your DaVinci Resolve .
- 4Create a new folder named 'sh4rk'.
- 5Paste the folder you copied into the 'sh4rk' folder you just created.
- 6From the extracted folder, open Macros\Fuses and copy the 'sh4rk_info_encrypted.fuse' file.
- 7Paste the copied file into your DaVinci Resolve .
- 8Restart DaVinci Resolve.
- 9Return to DaVinci Resolve, open the Fusion page, and press Shift + Space to search for 'vz_'.
How To Setup (Fusion Page)
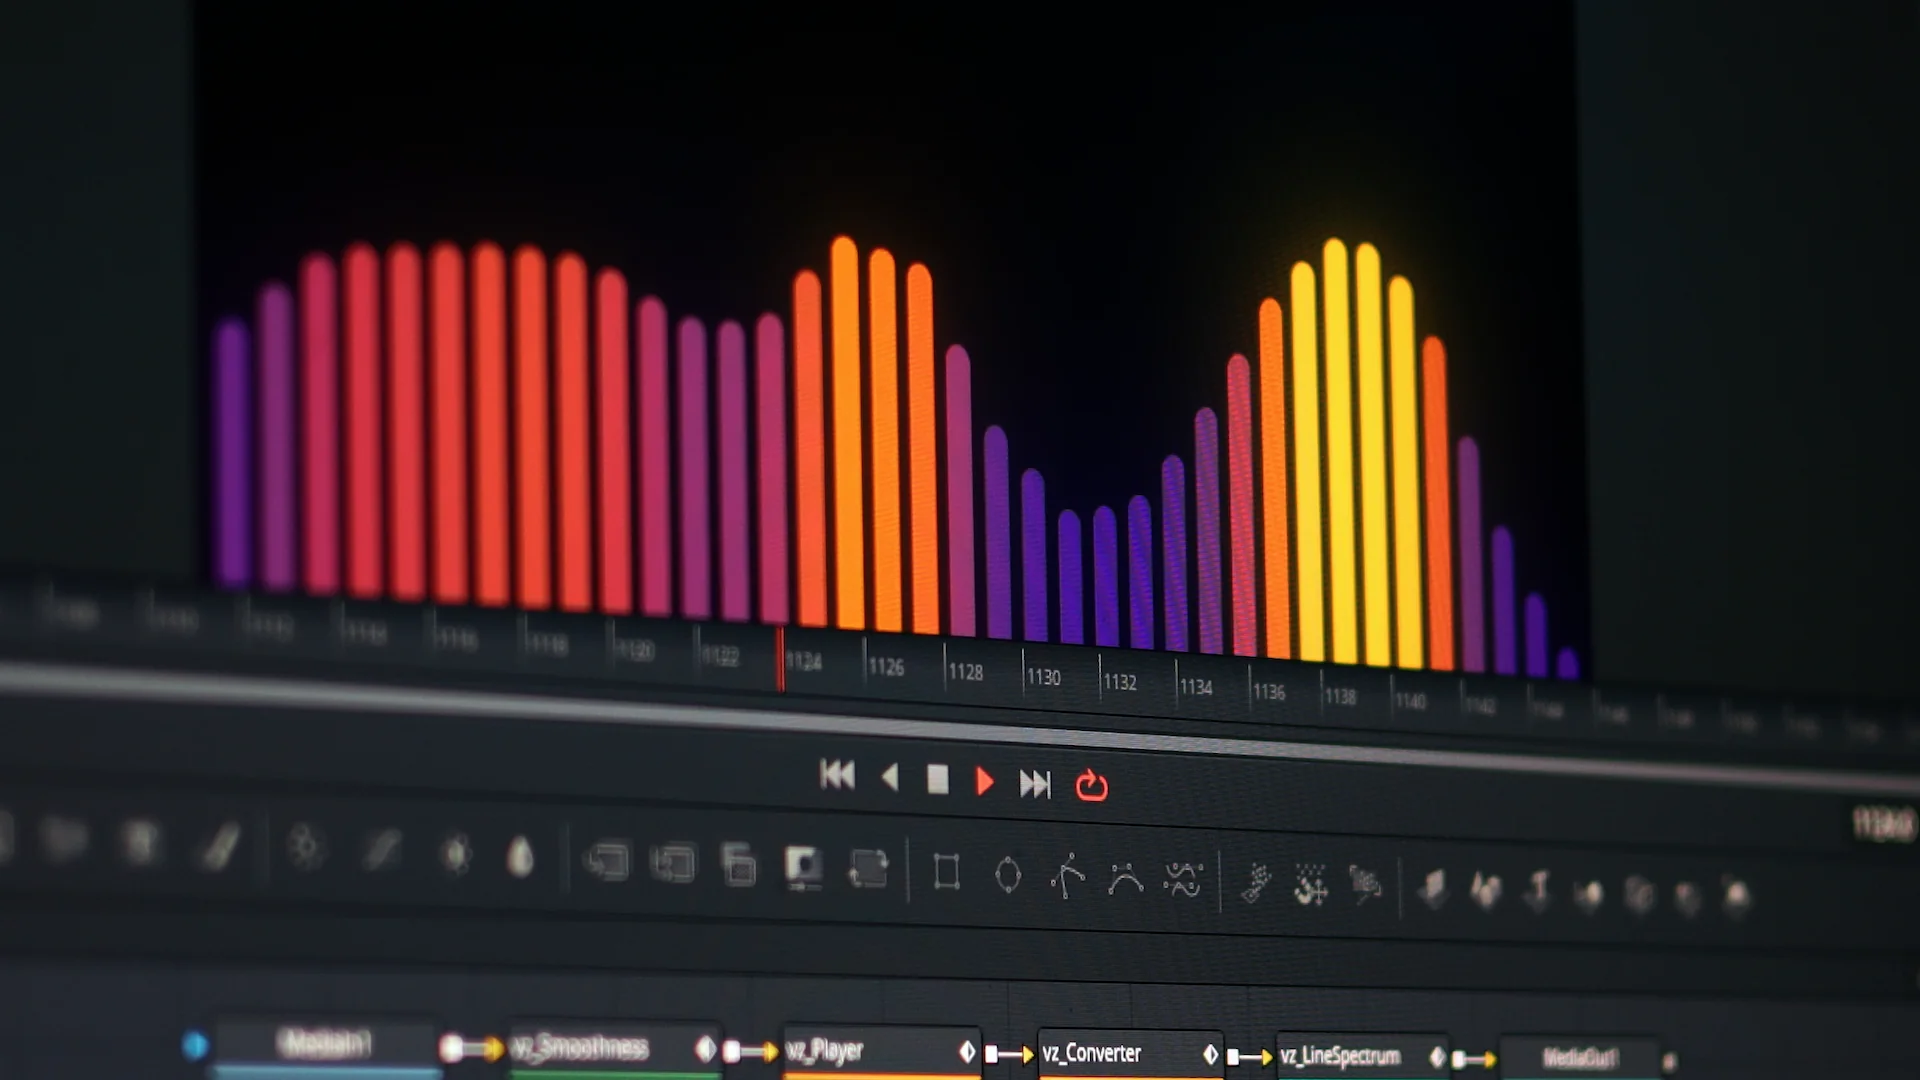
First, convert your audio using the Visualiser Converter. In DaVinci Resolve, add your audio to the timeline and create a Fusion Composition. Inside Fusion, import your converted image and connect the vz_Player and vz_Converter (Required) nodes to a visualizer.
The Node Order

Understanding the Workflow
All nodes are organized with custom prefixes. Search for them using Shift + Space.
- Time Effects (vz_T): These nodes manage how audio data flows over time. Connect them directly after your source image.
- Player (vz_Player) (Required): The central node that ensures your visuals remain perfectly synced with the master audio.
- Frequency Effects (vz_F): Use these nodes to fine-tune the volume and response of specific frequency ranges.
- Converter (vz_Converter) (Required for Visualizers): The essential bridge that converts processed audio signal into data that
vz_Vzrenderers can understand. - Probe (vz_ConverterProbe) (Required for Animation): The essential bridge that outputs raw 0-1 values from your audio data for use with expressions or
vz_PVznodes. - Note: At least one bridge node (Converter or Probe) must be active for the visual elements to react to audio.
- Effects (vz_Fx): Final post-processing effects applied to the visualized result.
How To Setup (Edit Page - Full Edition)
The Full Edition offers a significantly faster workflow by allowing you to work directly on the Edit Page.
Drag and drop your chosen visualizer preset directly onto your timeline, placing it on a track above your audio.
Extend the visualizer clip to match the duration of the audio you wish to visualize.
Select the visualizer clip, open the Inspector, and drag your converted spectrogram image into the Converted Image field.
If you have questions or require further help, feel free to join our Discord server.
Frequently Asked Questions
Still Have Questions or Need Help?
Check out this in-depth walkthrough created by one of our users for another perspective on the setup process and creative possibilities.
Animate Everything with Audio
Take your music videos to the next level with high-performance real-time visualizers designed for DaVinci Resolve.