Procedural CRT v2.0, the best CRT plugin for DaVinci Resolve
Real pixels. Not an overlay.
Real pixel simulation, all in a few seconds.
Presets on your footage
Preview your presets directly on your footage.
Comes with 10 built in presets. Save, share, and load your presets anytime. Your presets are saved across machines (optional).
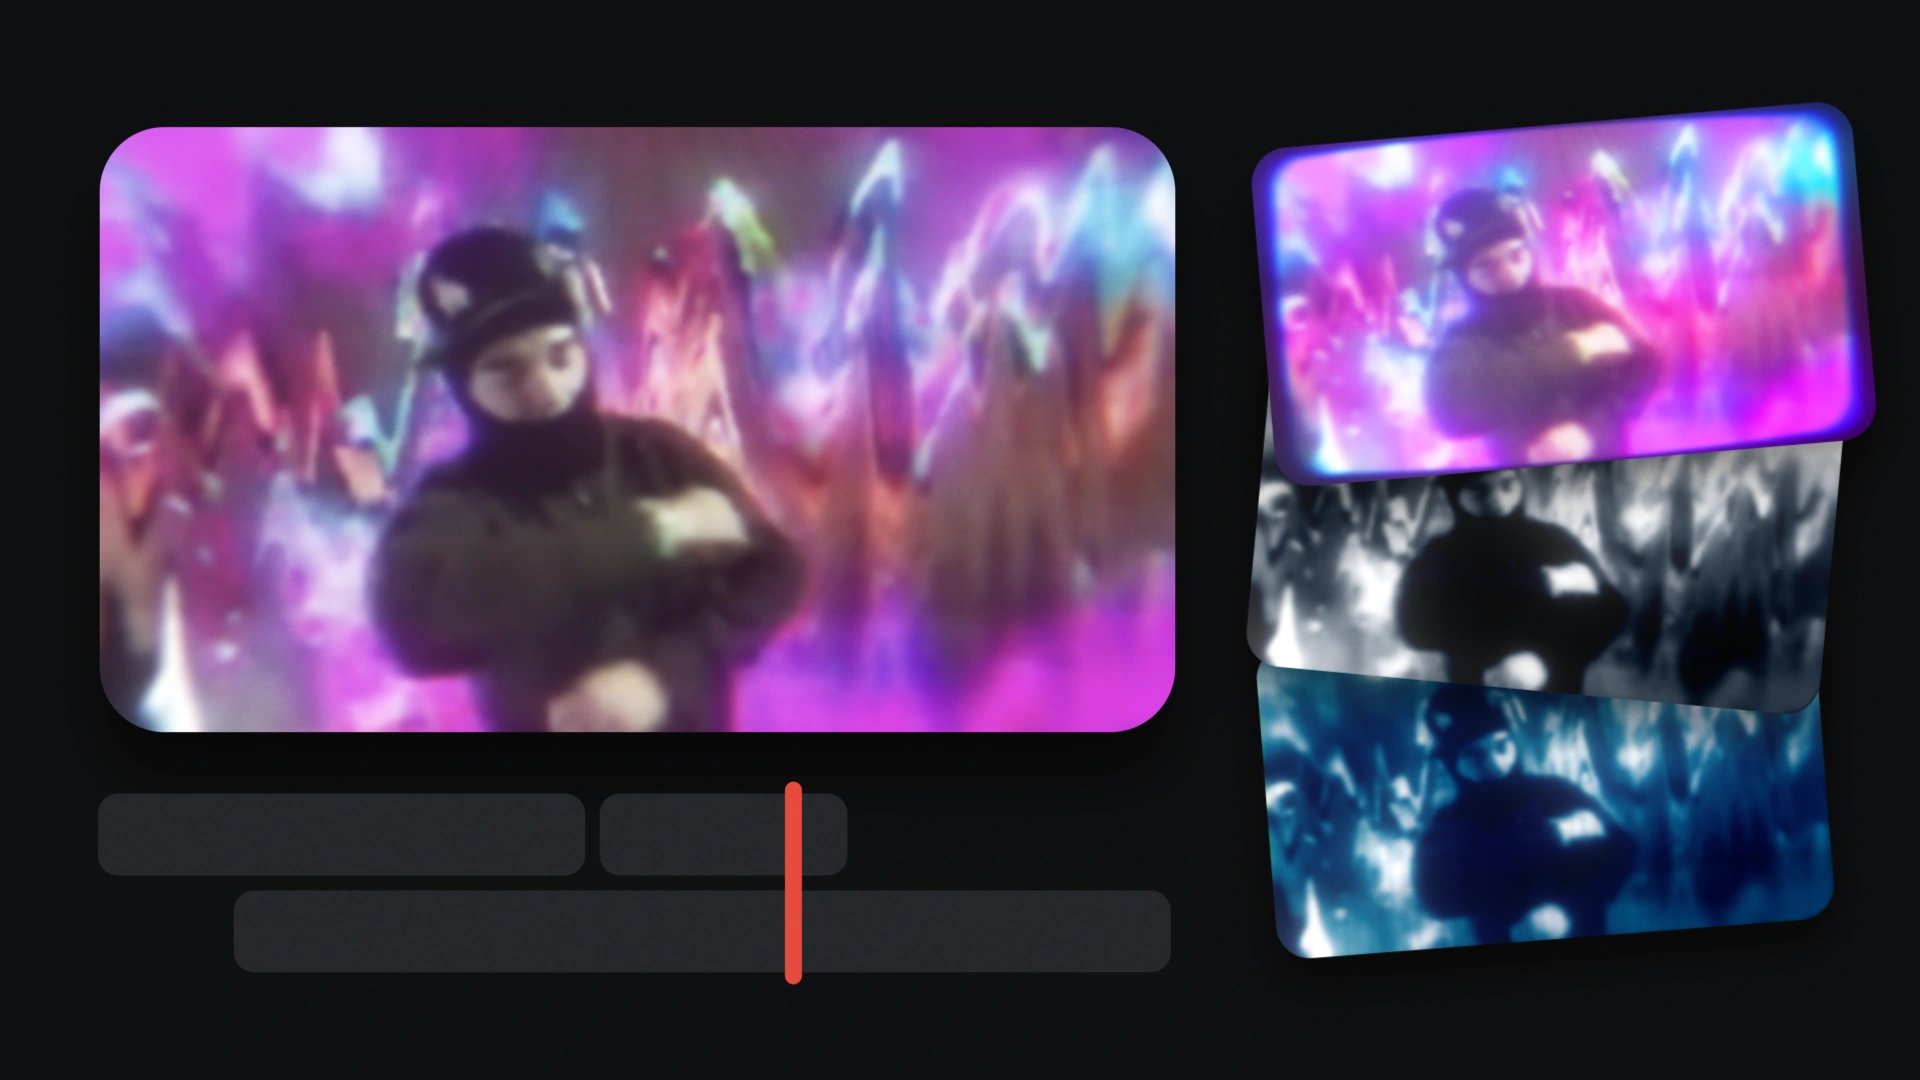
Rendered on your own frame
Every tile in the panel is the frame you are parked on with that preset applied, not a canned screenshot, so you judge a look on your shot before you click it.
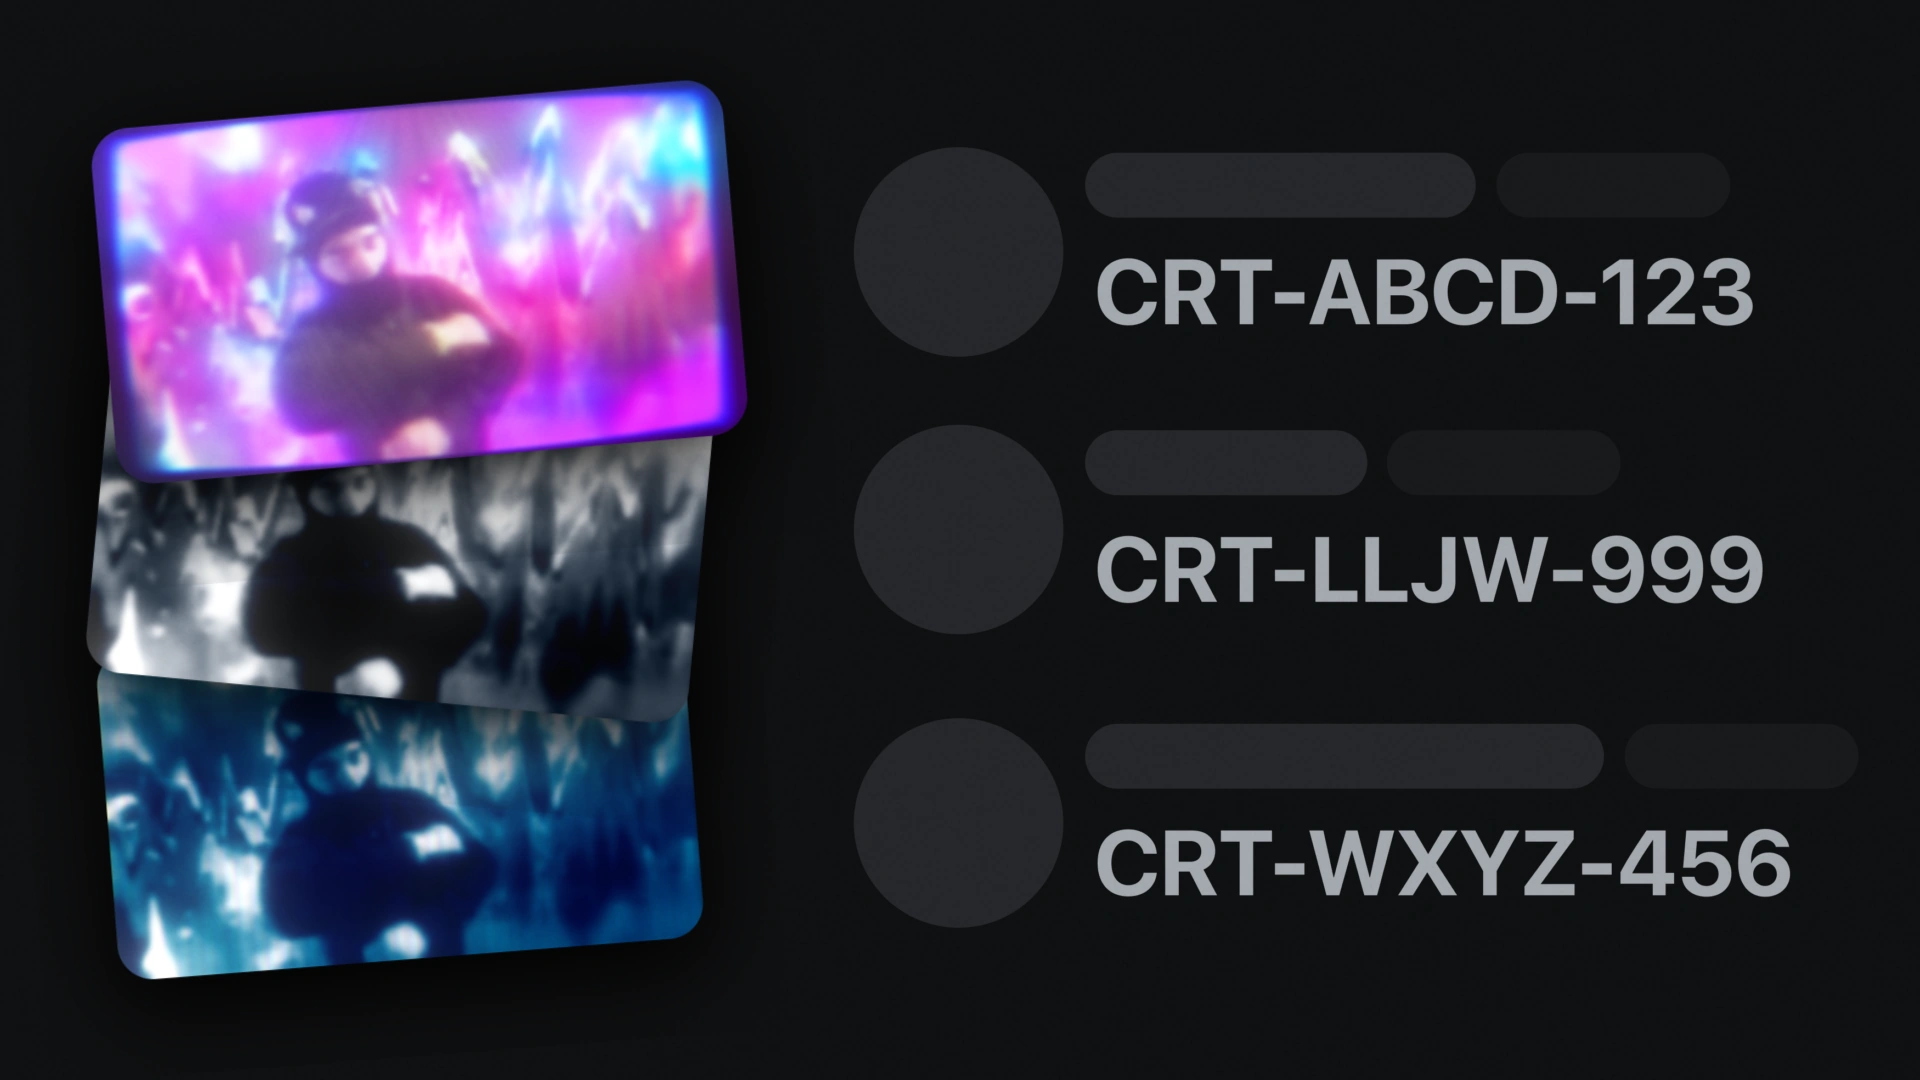
Share codes
Copy any preset to the clipboard as a short text code and paste it to another person or another machine. No file to send, no import dialog.
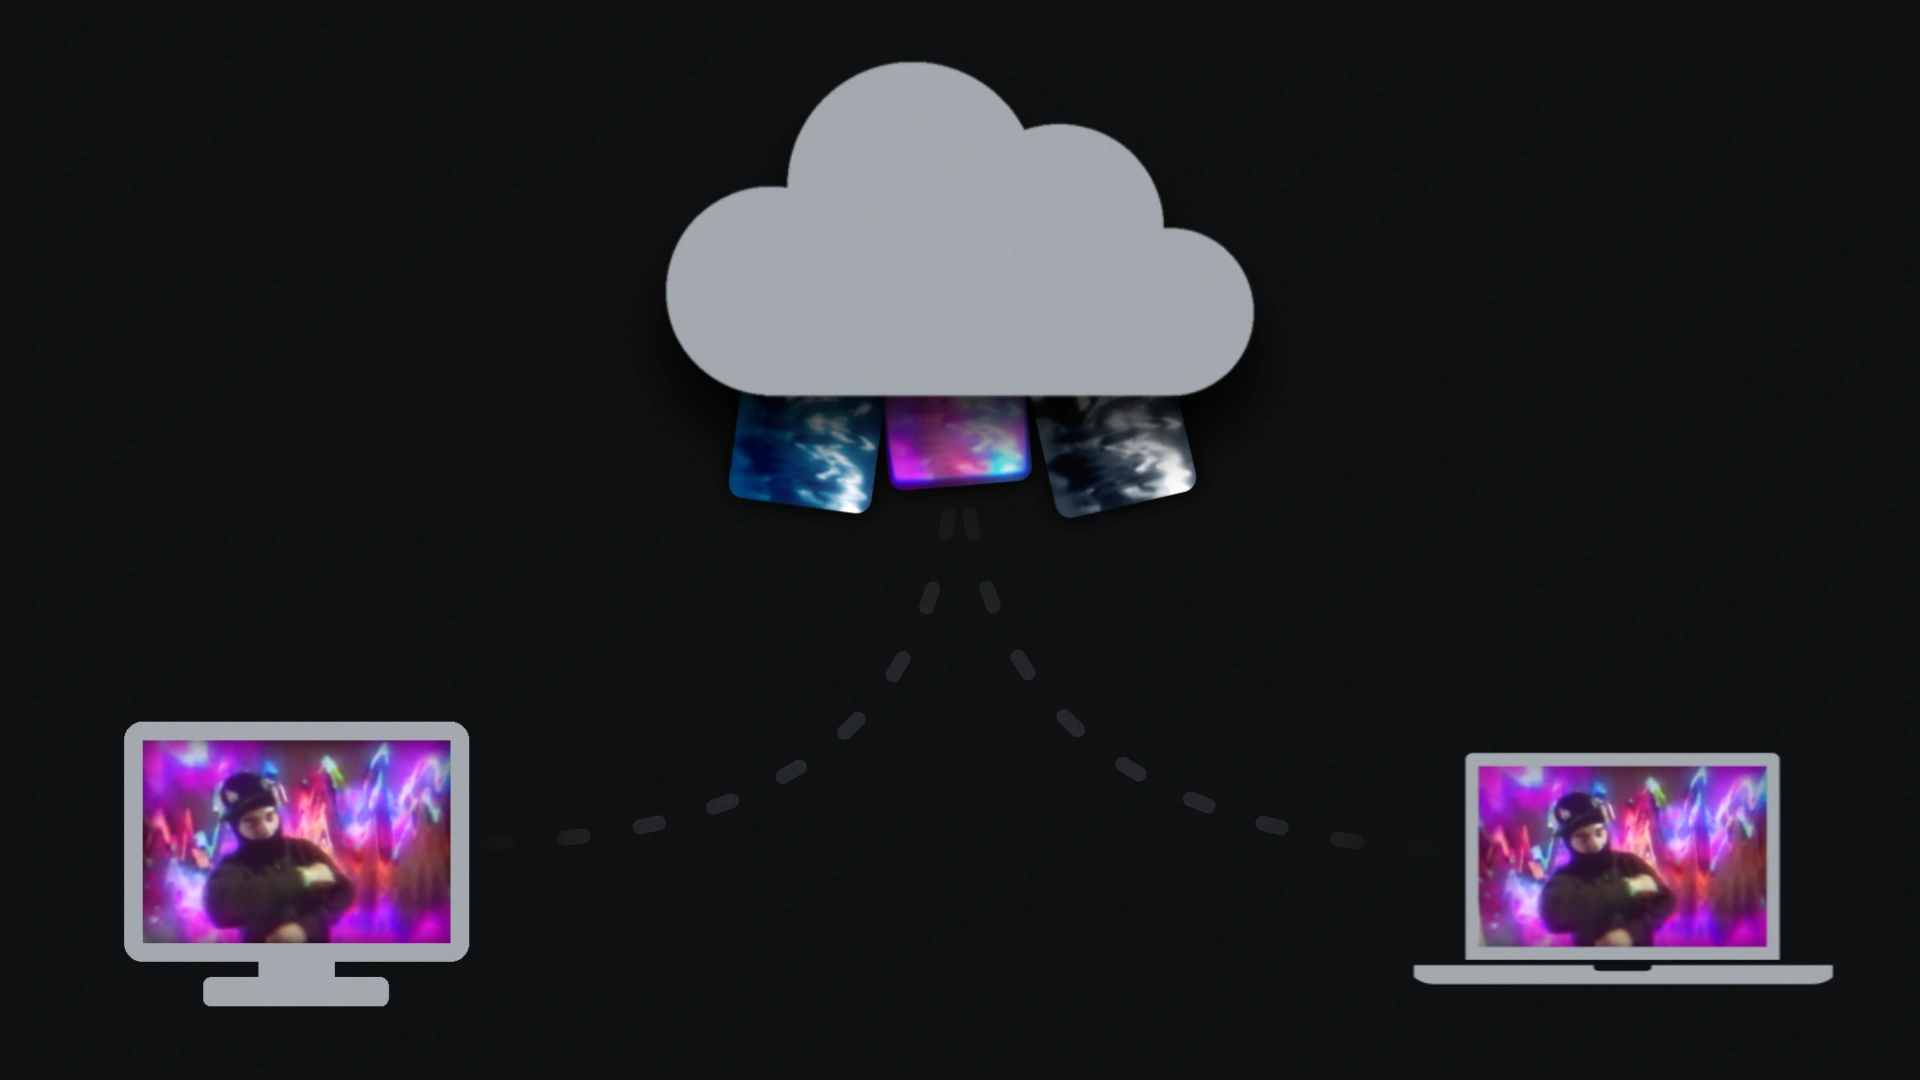
Cloud sync, optional
Saved presets follow your license key to your other machines and come back if you lose them. Only presets are stored, never personal data. Sync needs an active license and can be switched off in the panel.
Real-Time Performance (No Lag)
It runs on the GPU, so the CRT is generated while you scrub.
Render speed
Procedural CRT v2.0
Heavily optimized, renders on the GPU
Competitor plugins
A Resolve macro or fuse, held back by the comp it runs inside
1080p at default settings on an RTX 3060. A fuse can be GPU accelerated too, but it still runs inside the Fusion comp. A compiled OFX plugin does not, which is where the gap comes from.
Visual quality
Procedural CRT v2.0
Made to look great and realistic
Competitor plugins
Made to sell
Cheap filters and overlays
Does not even look like a CRT
You can't measure looks. This is a professional's opinion on raw results.
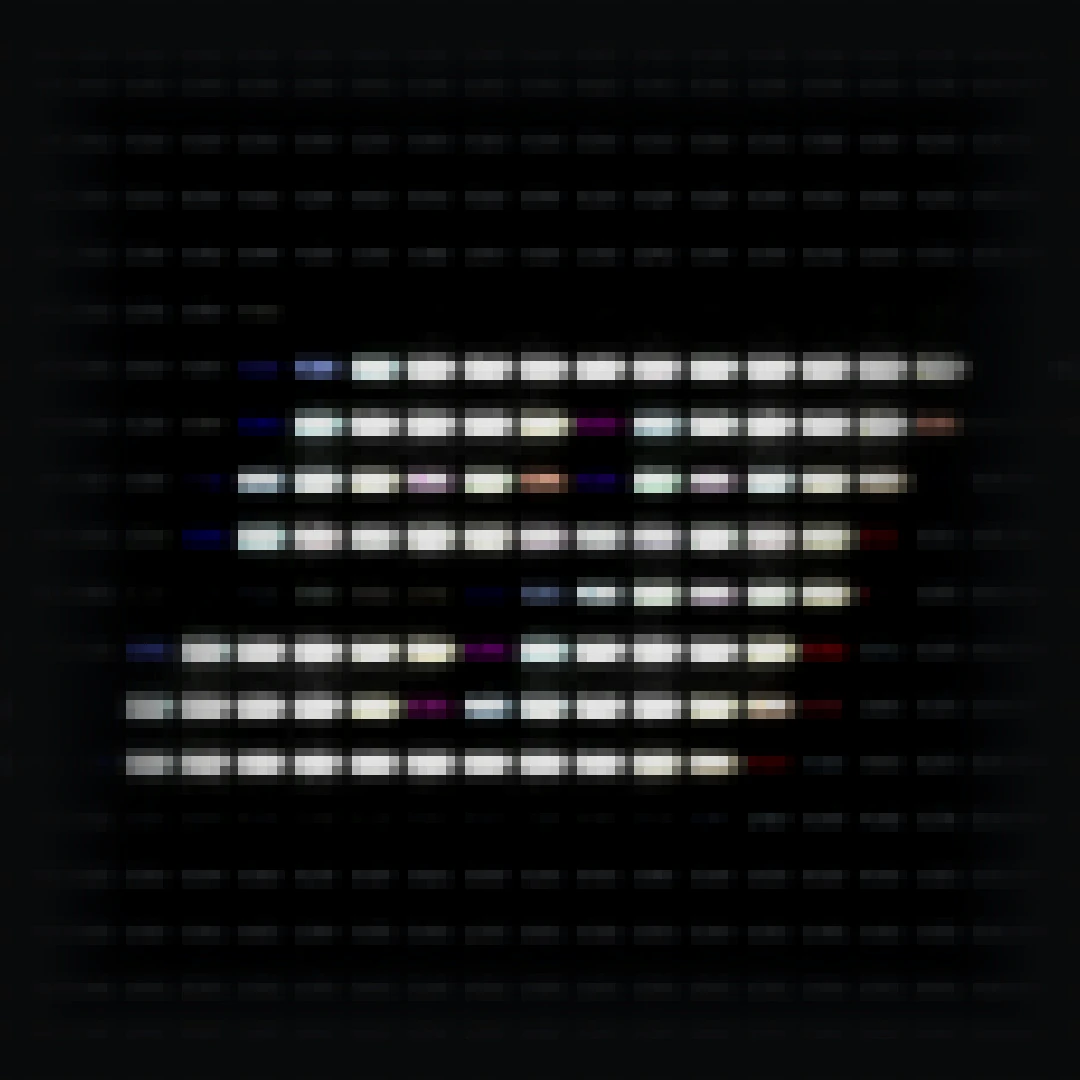
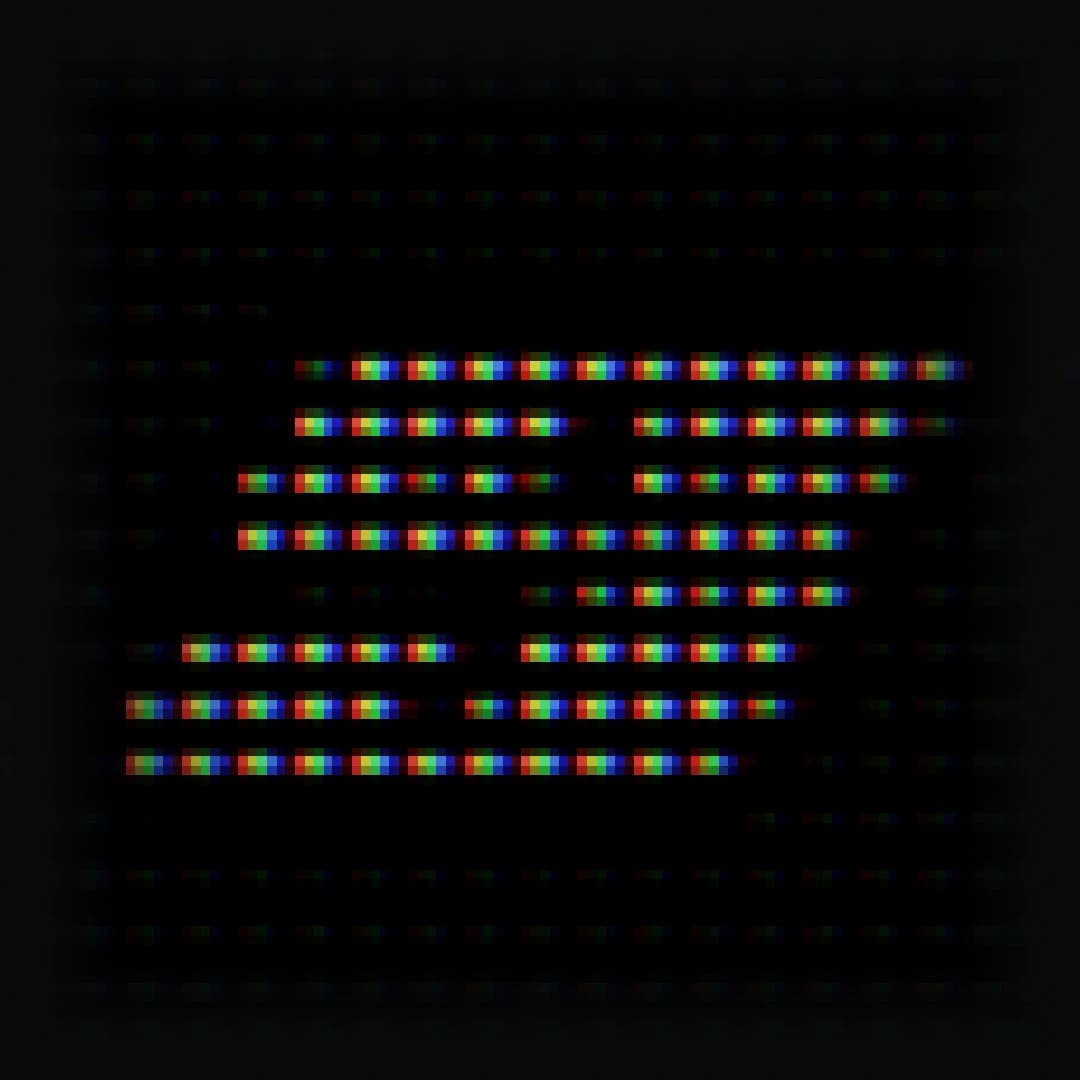
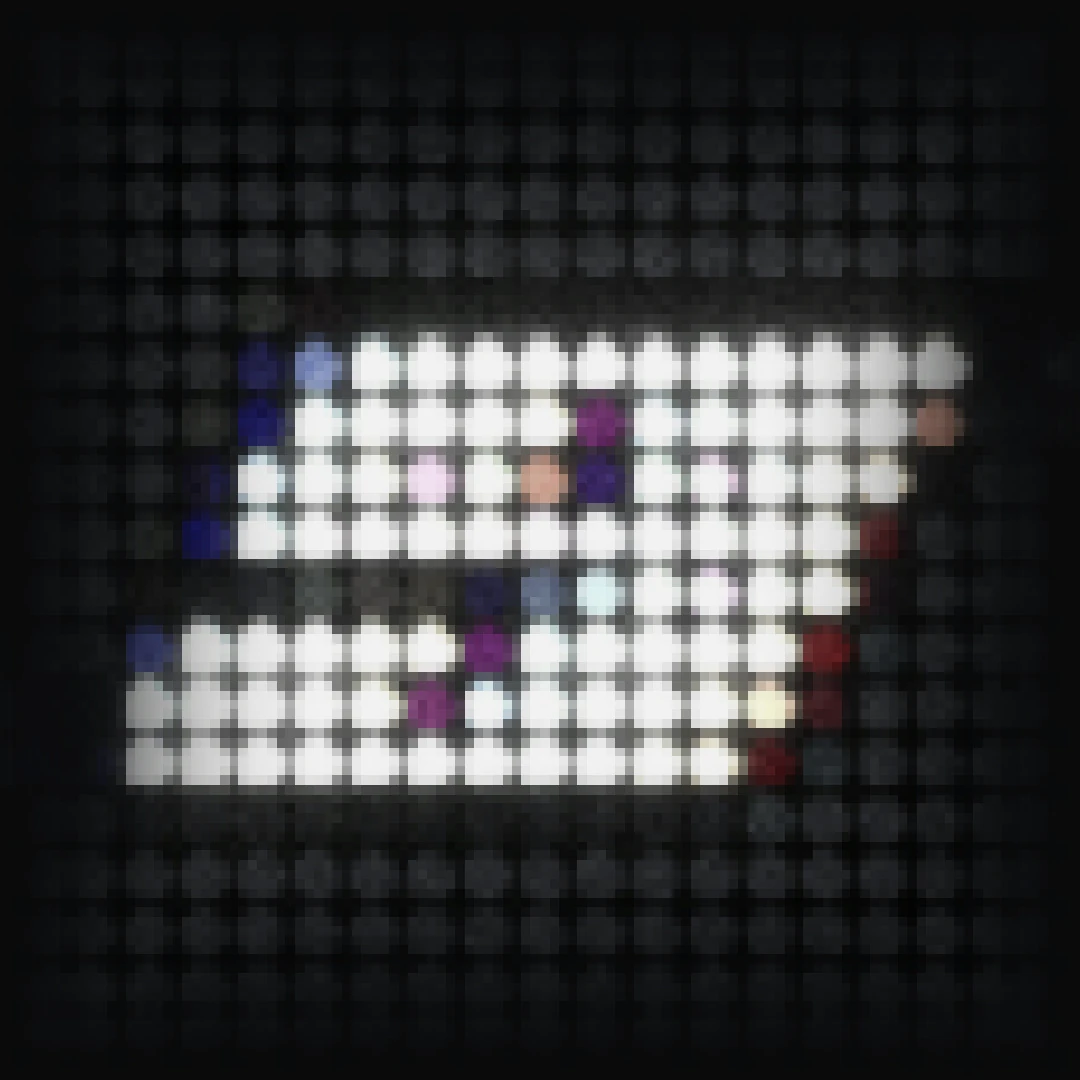
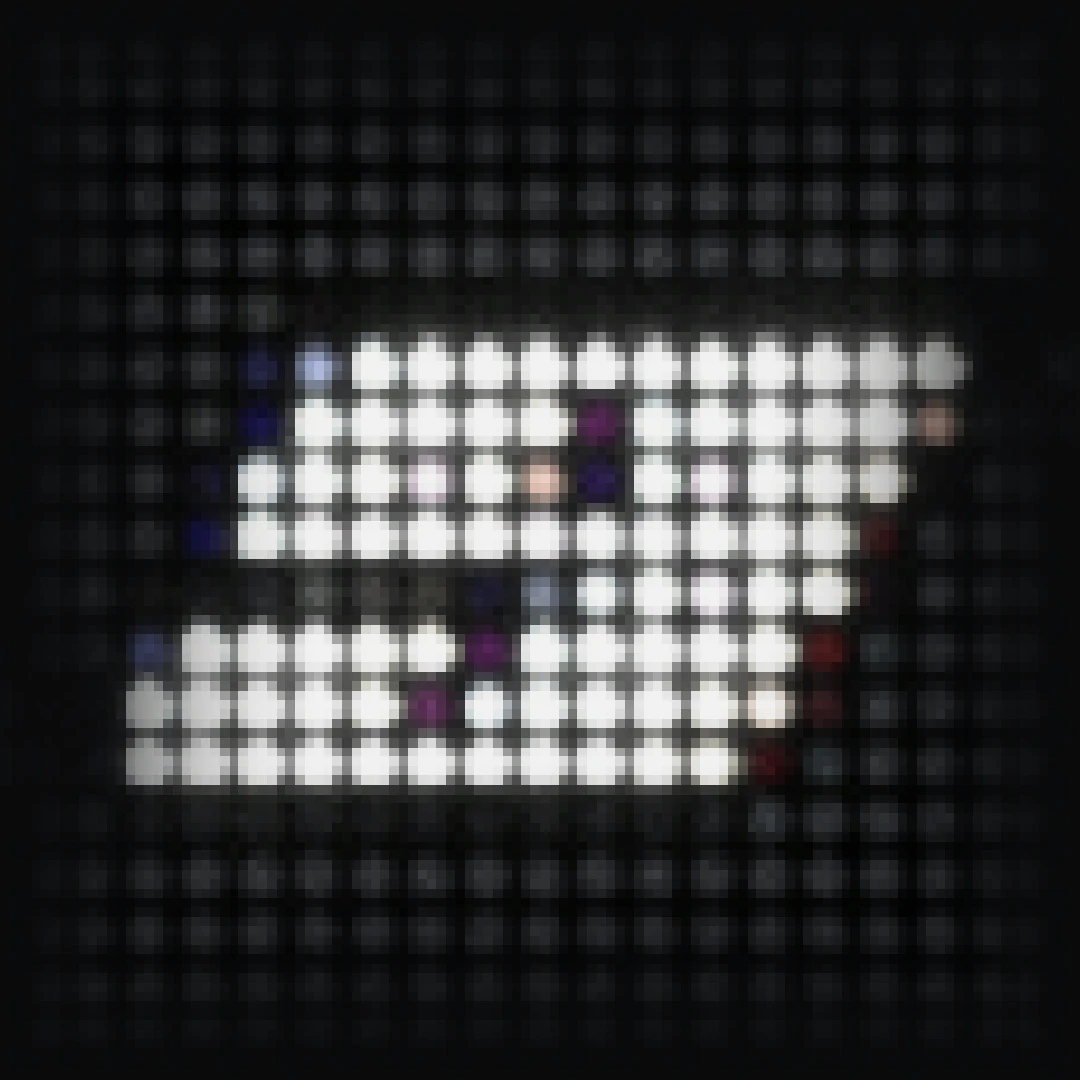
8 Popular Pixel Patterns
Choose from the most used pixel patterns across displays with real and fake subpixels.
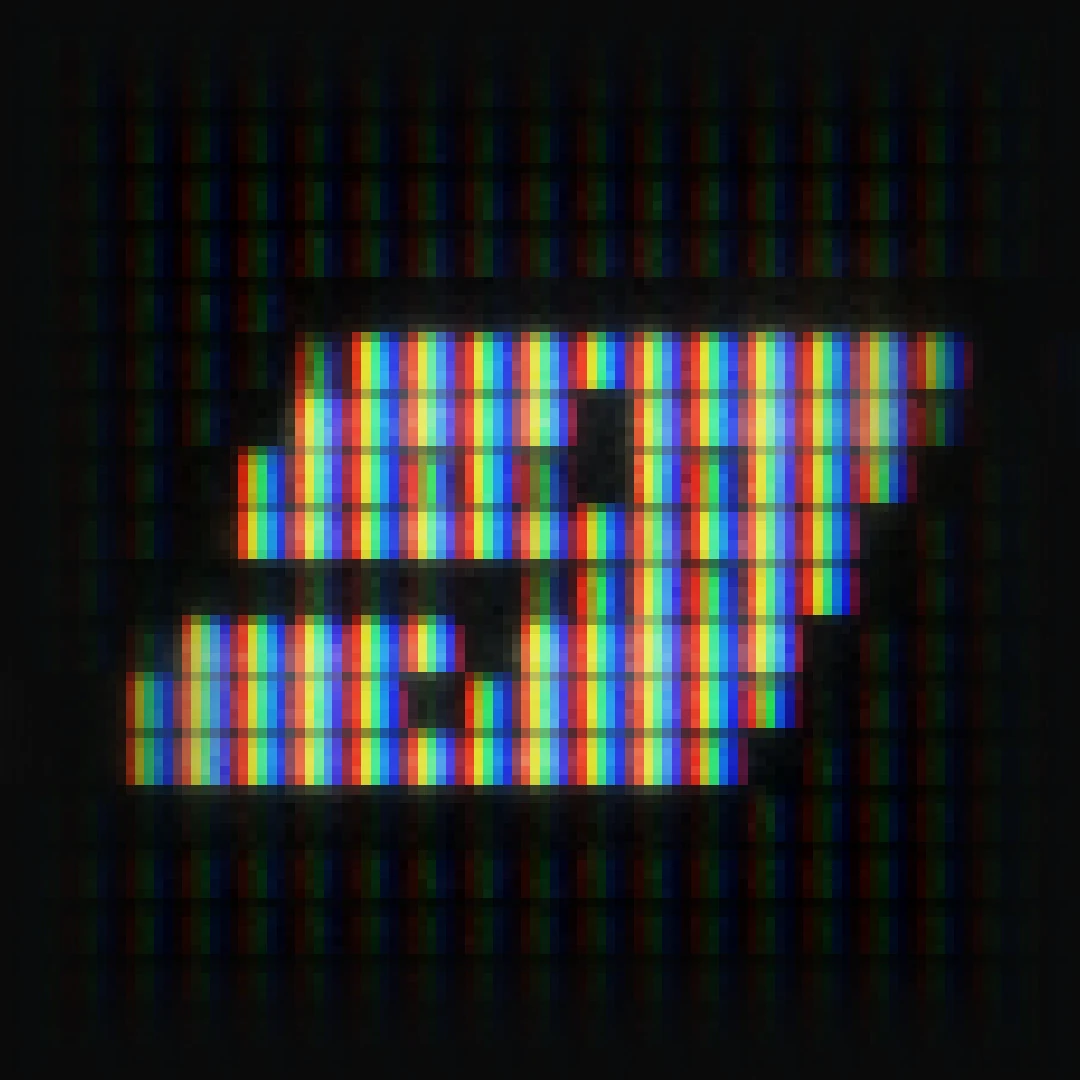
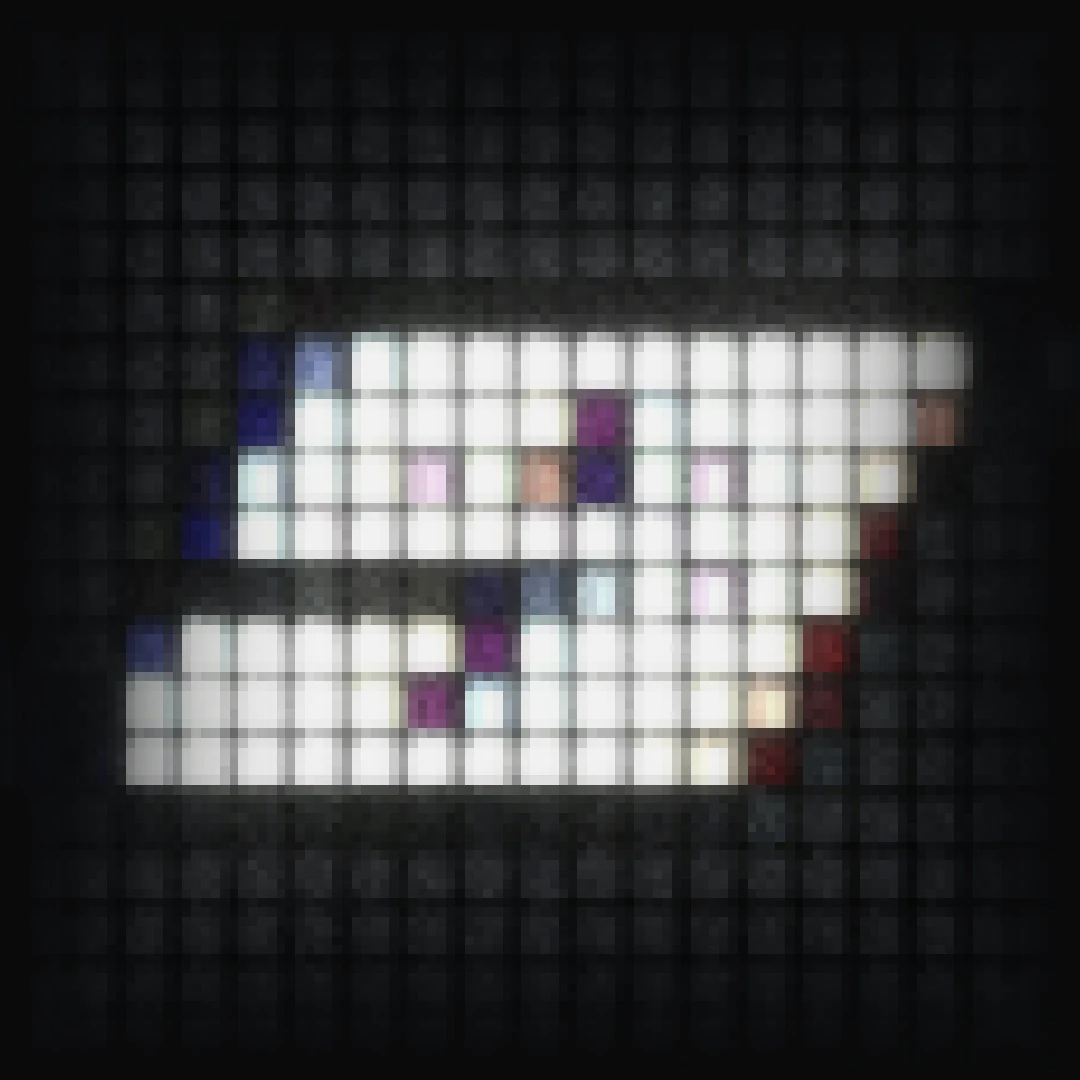
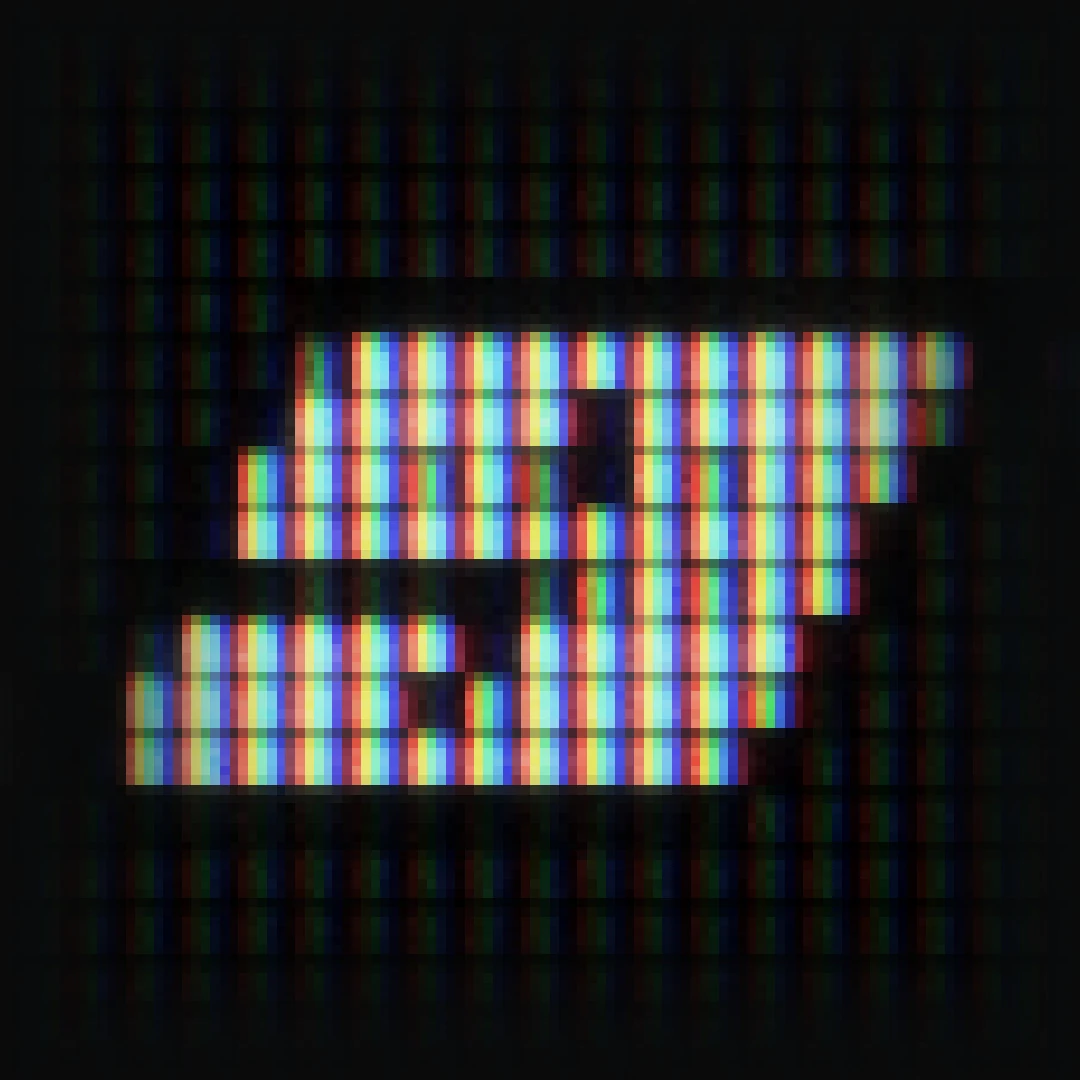
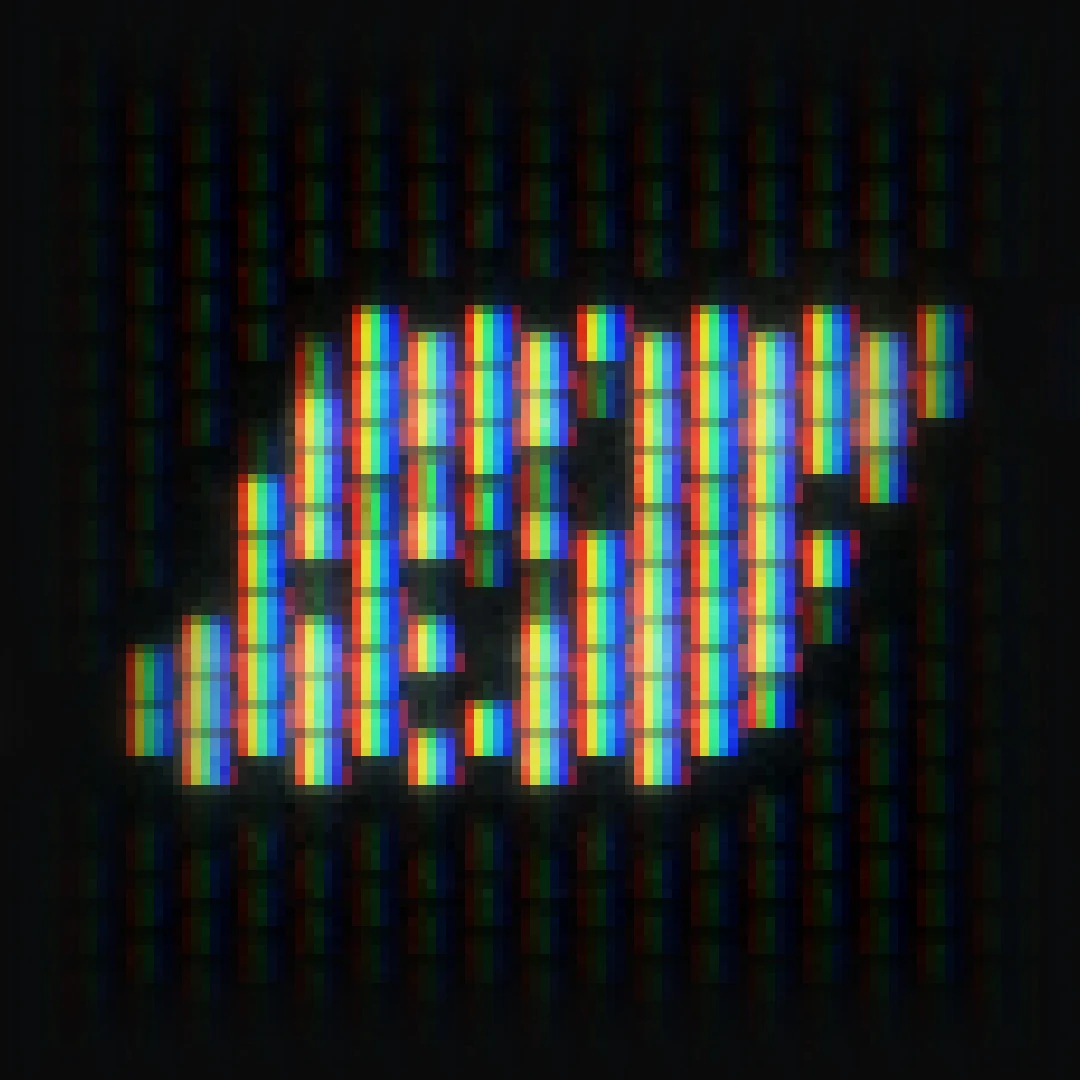

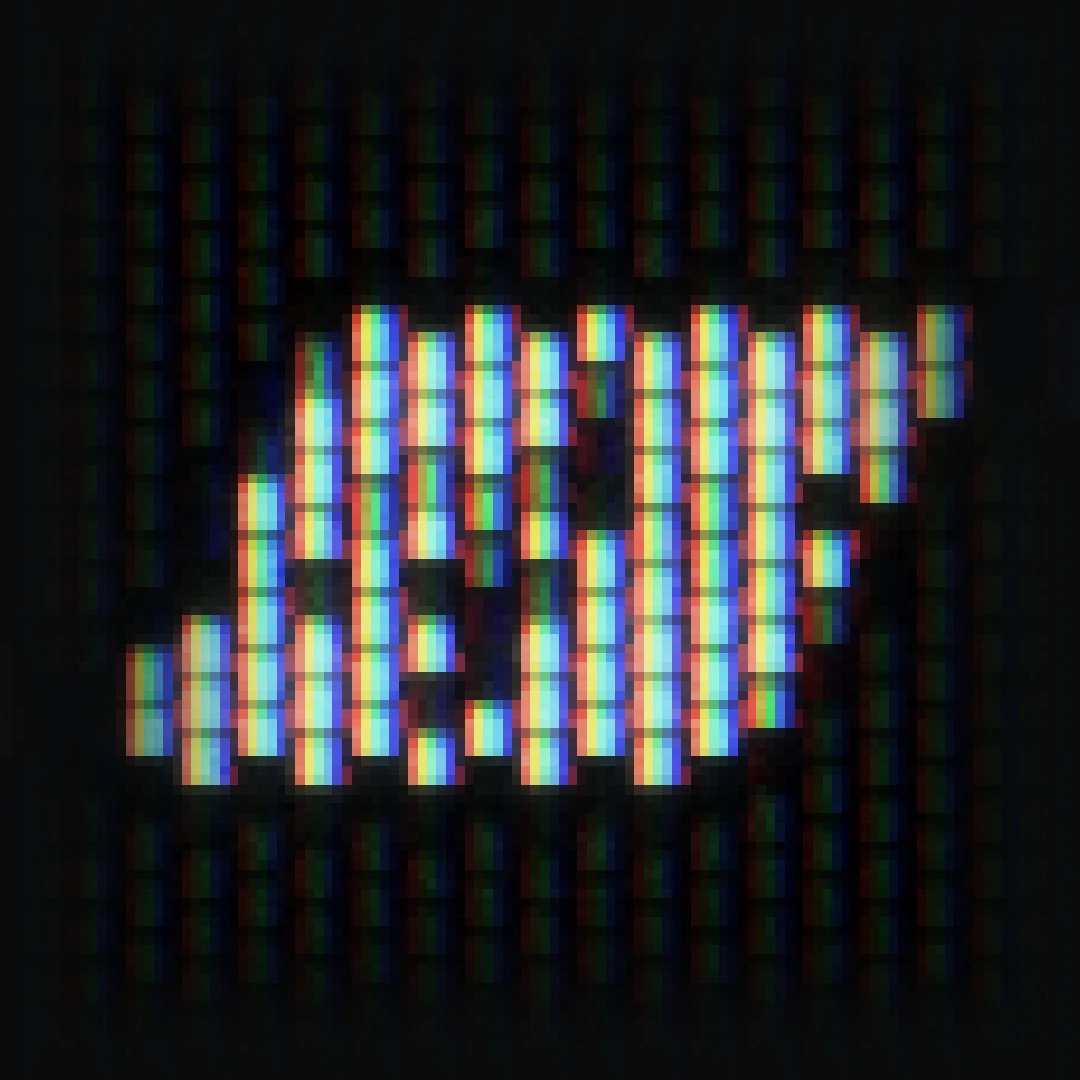
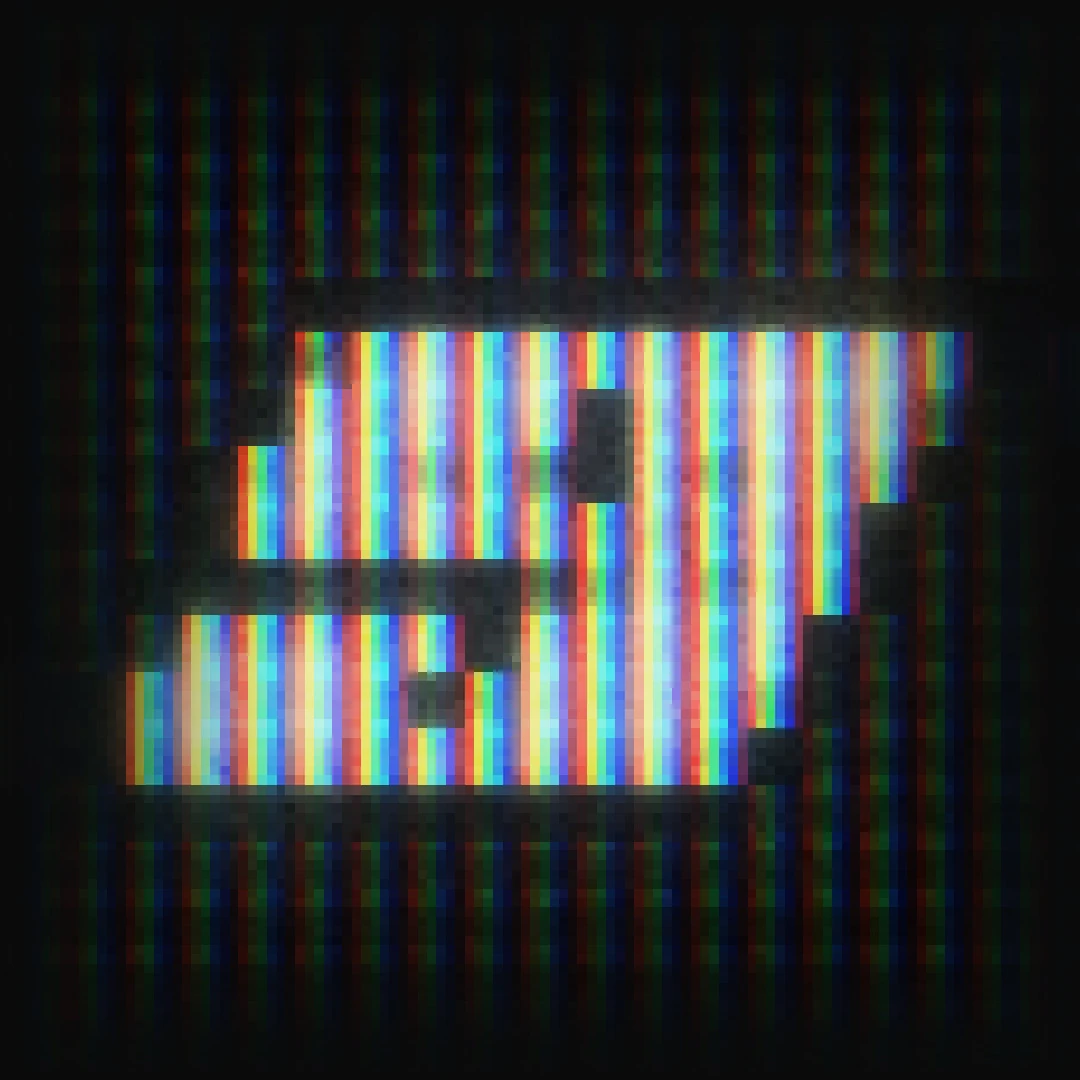
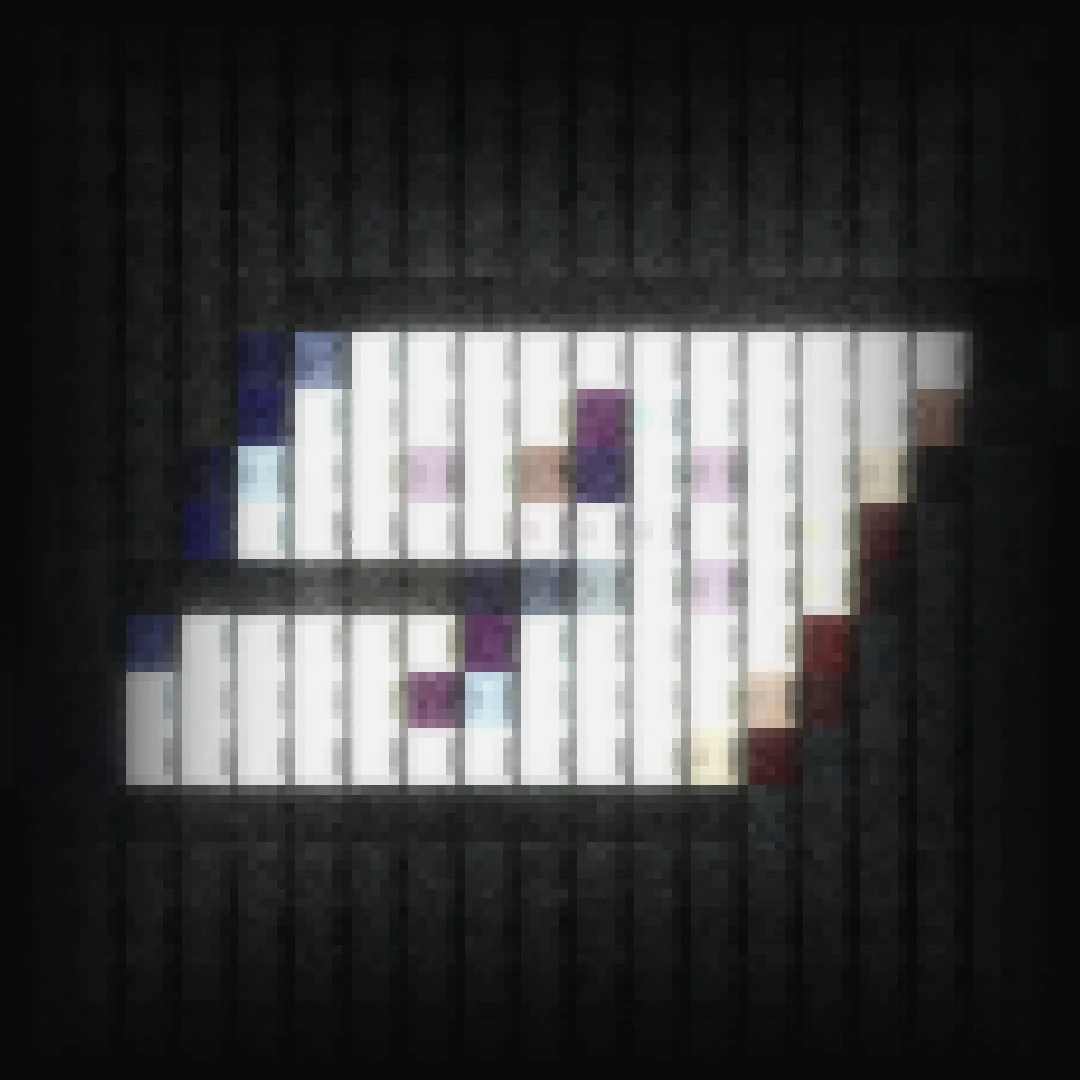
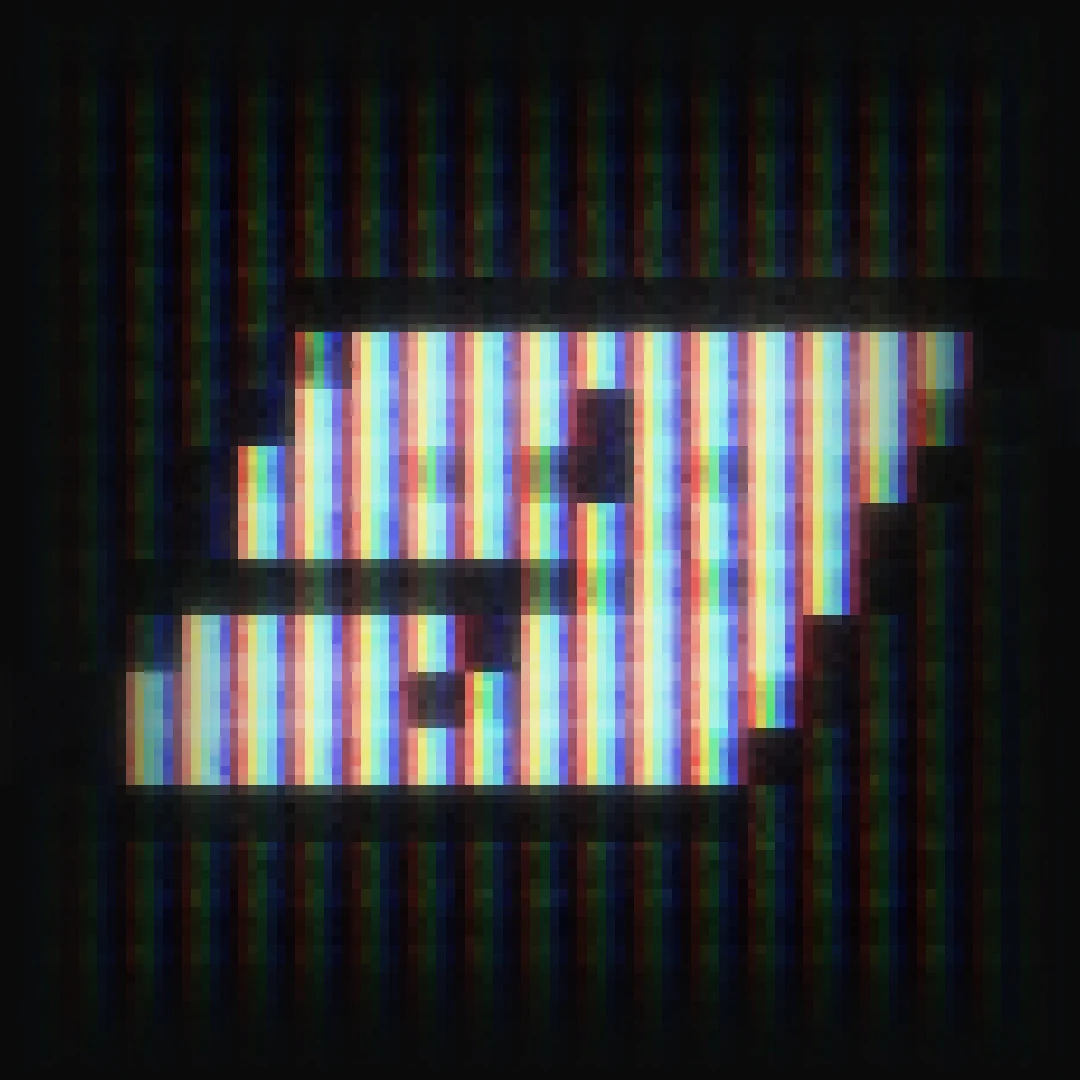
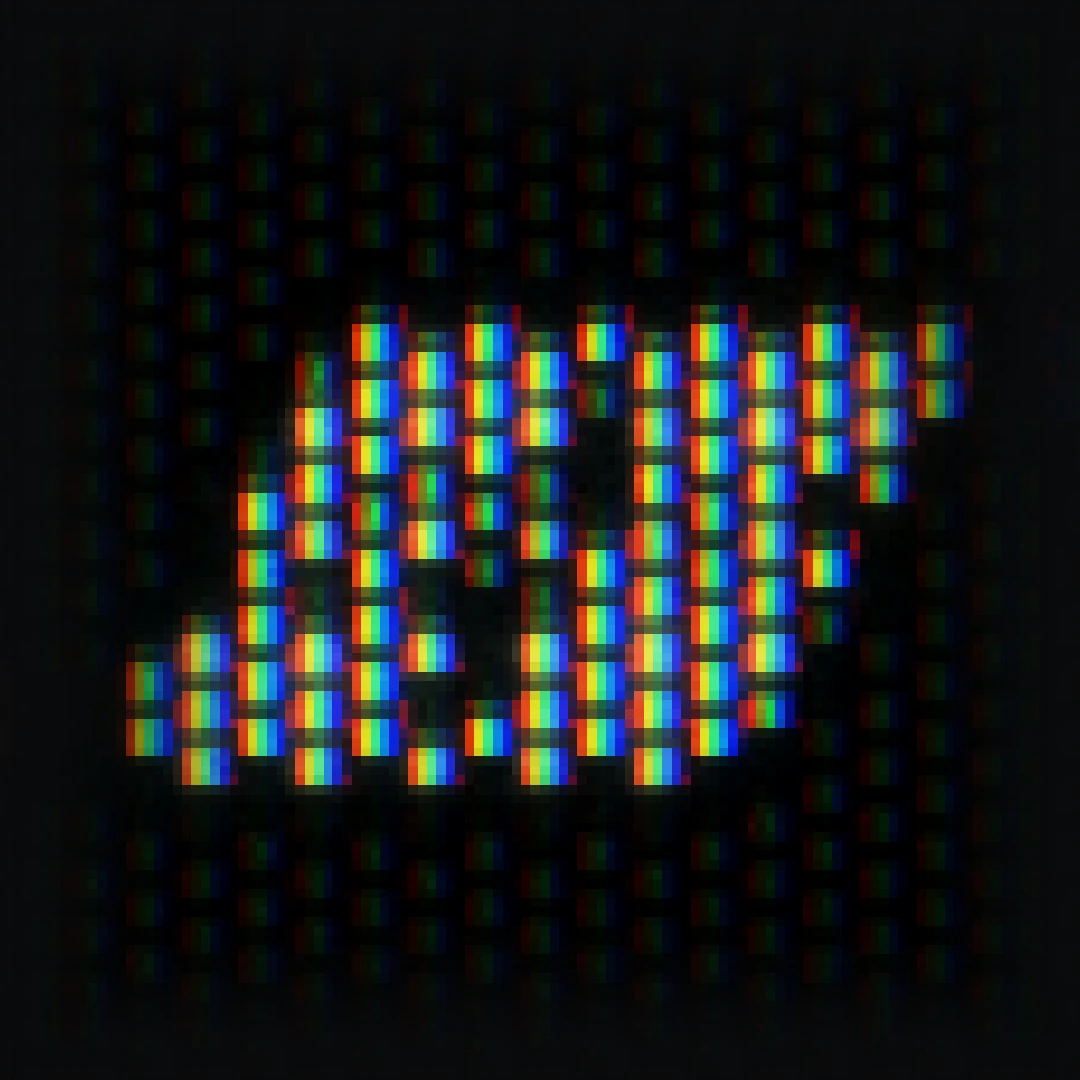

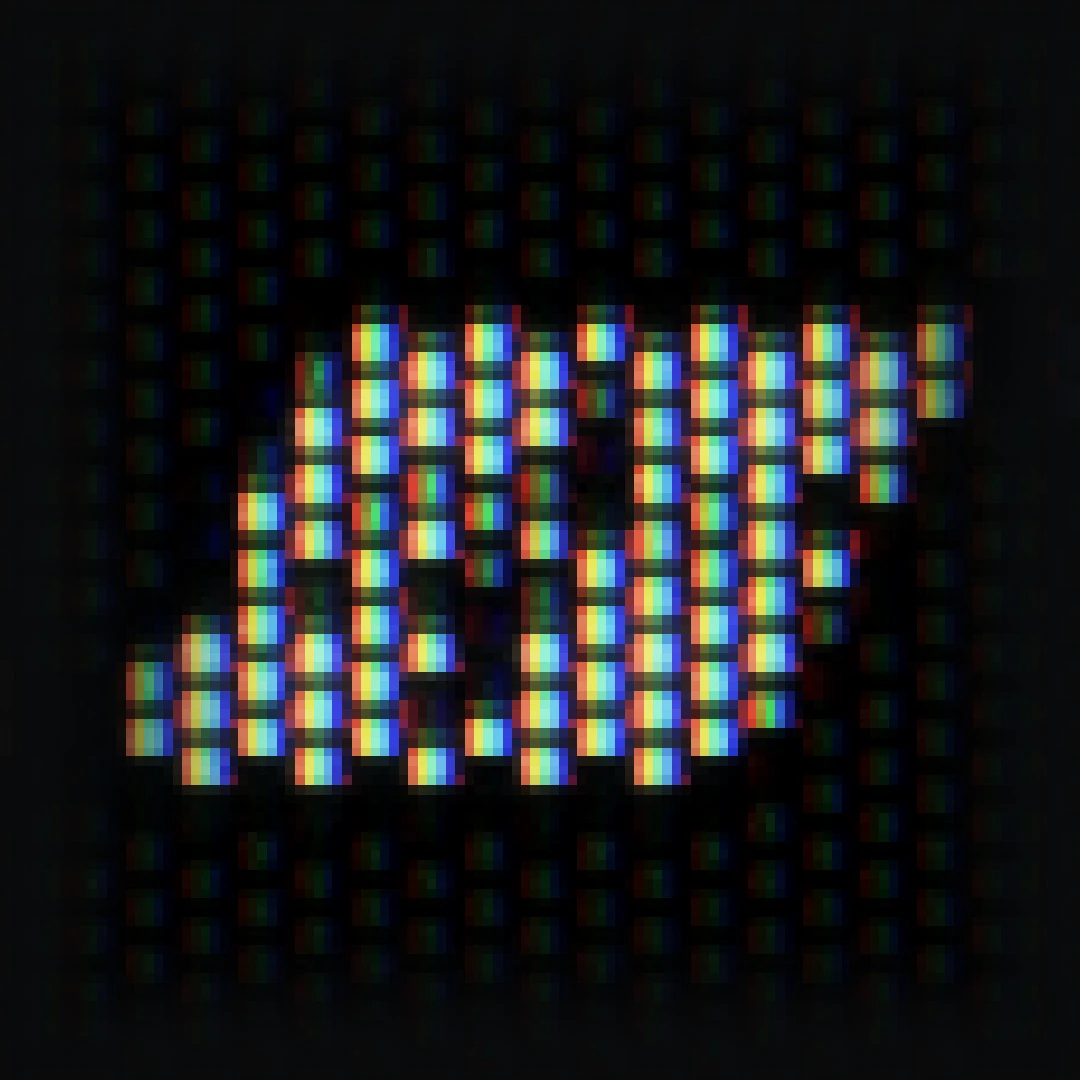
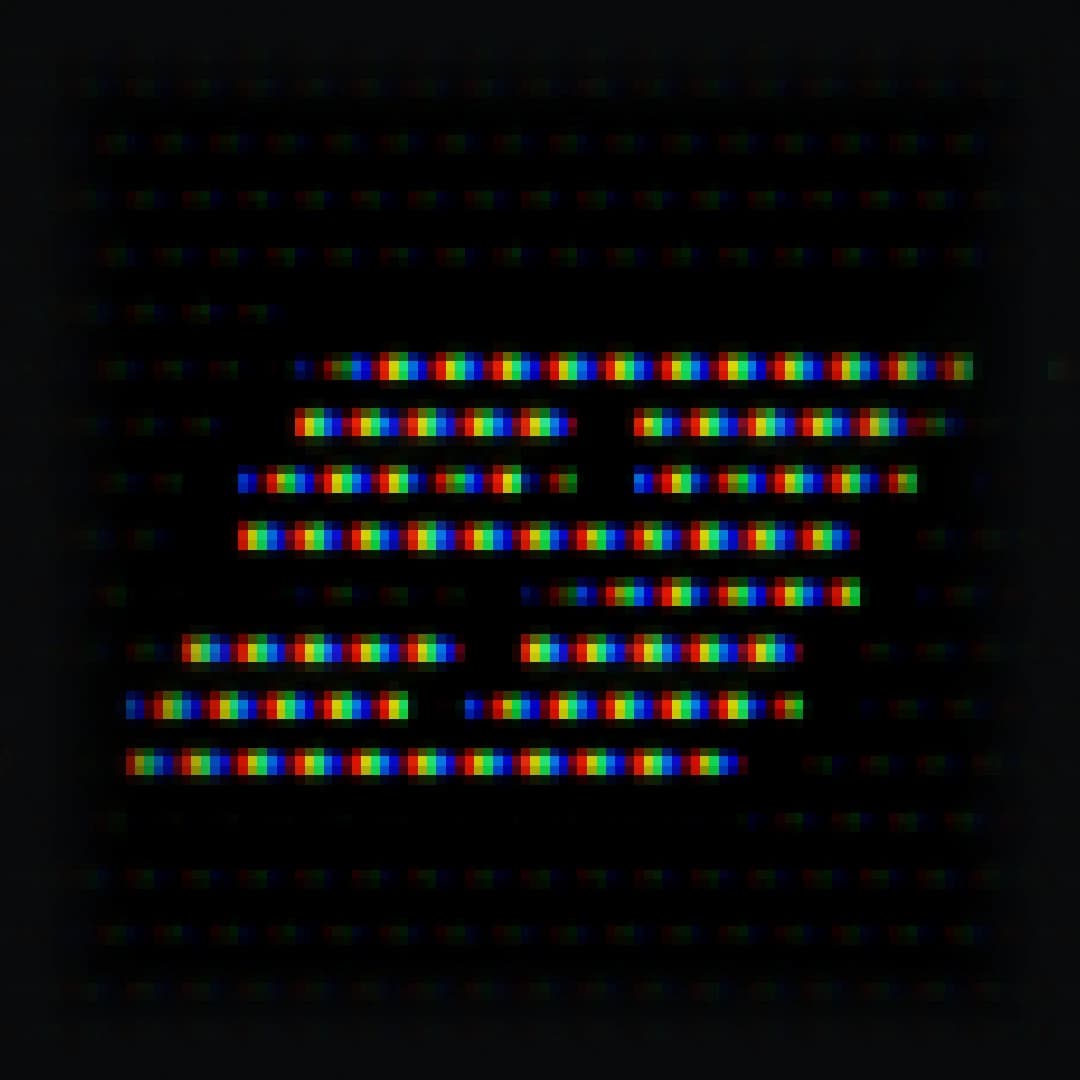
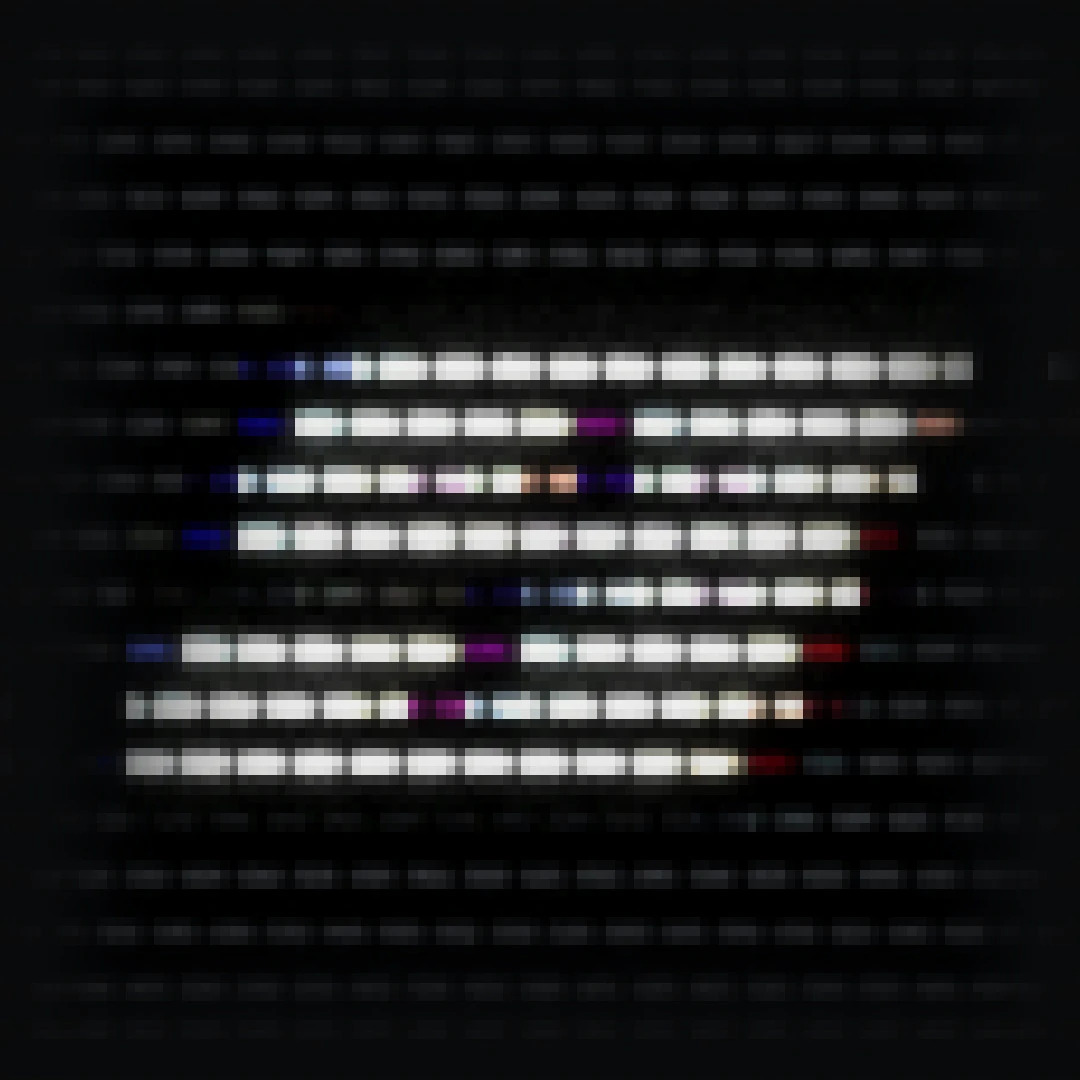
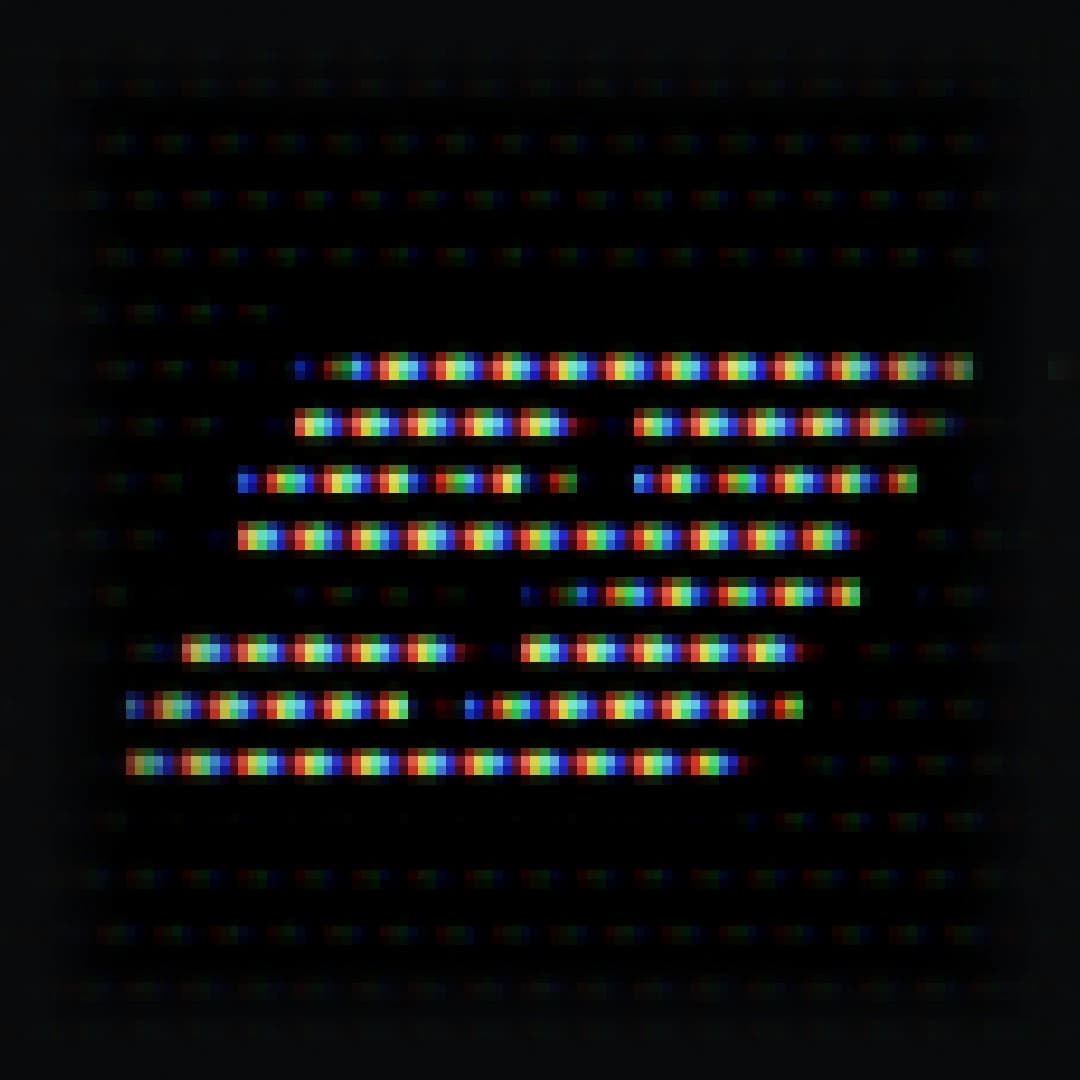
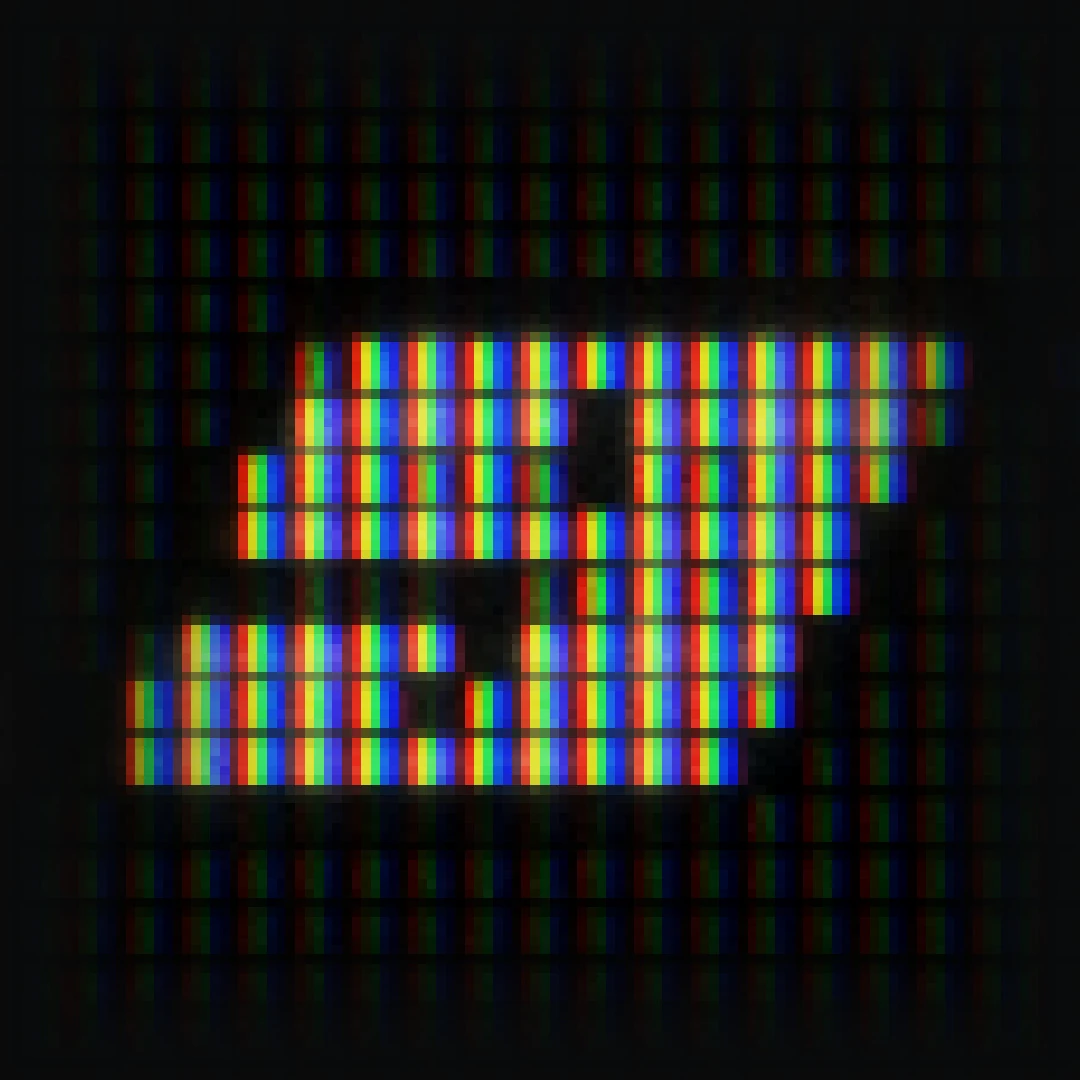
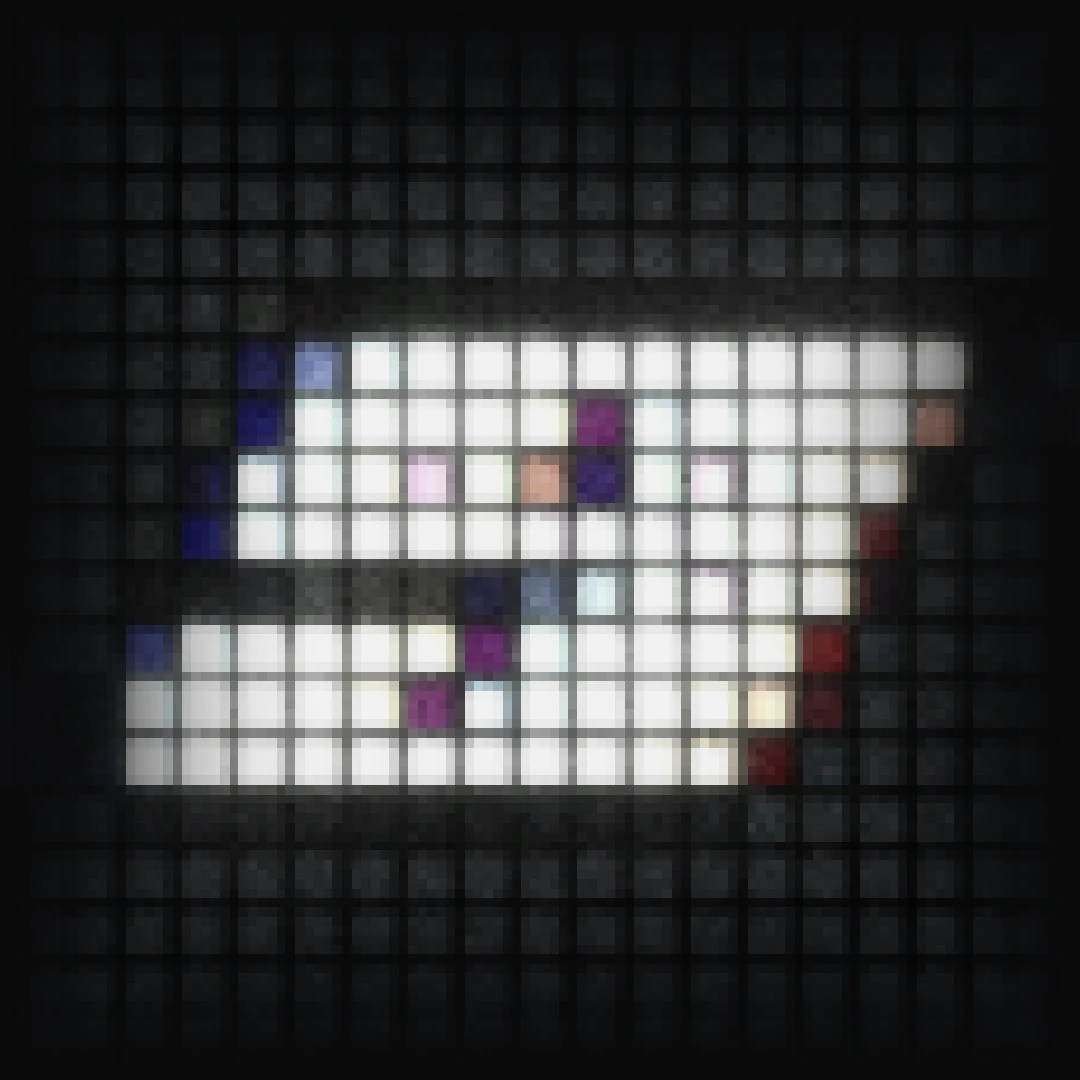
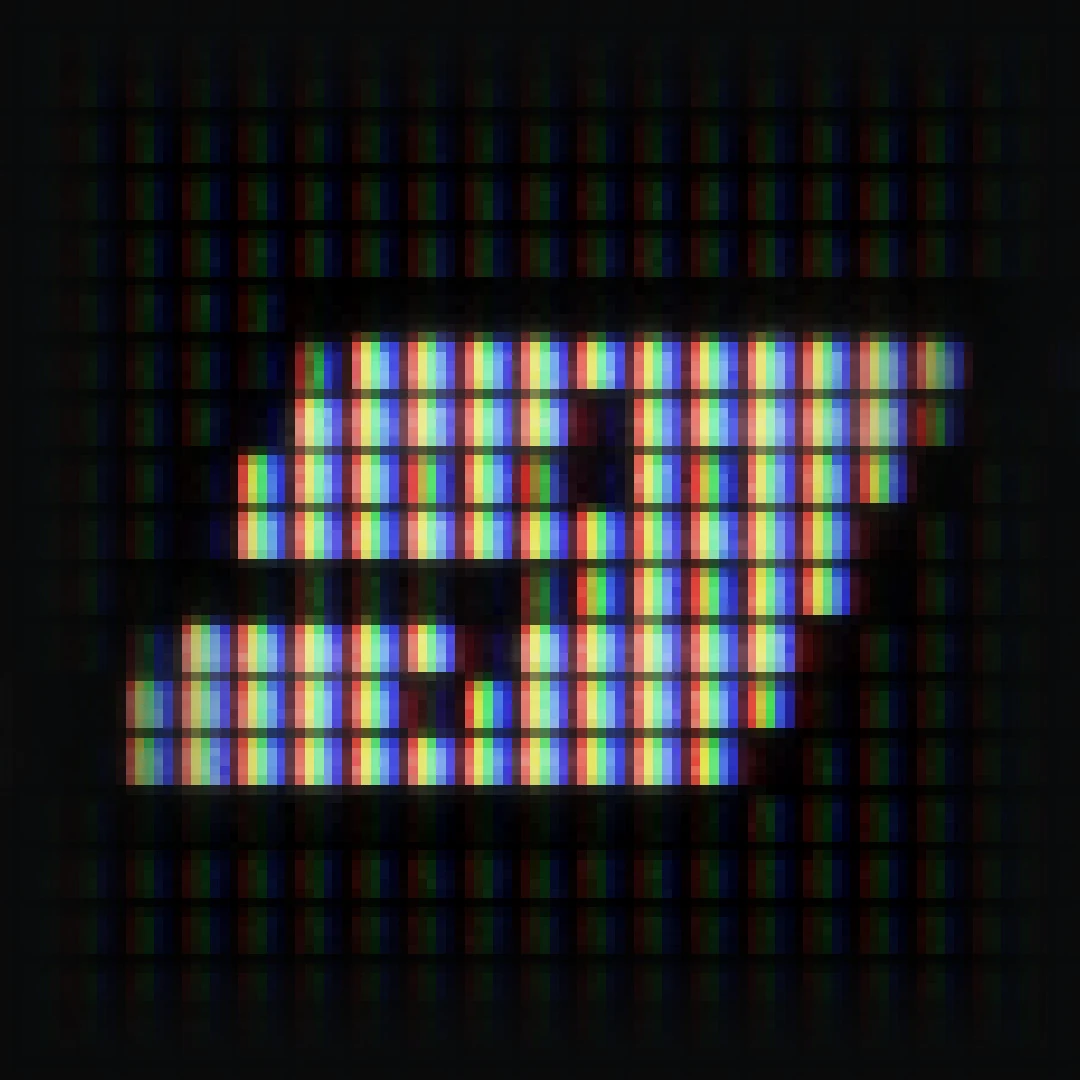
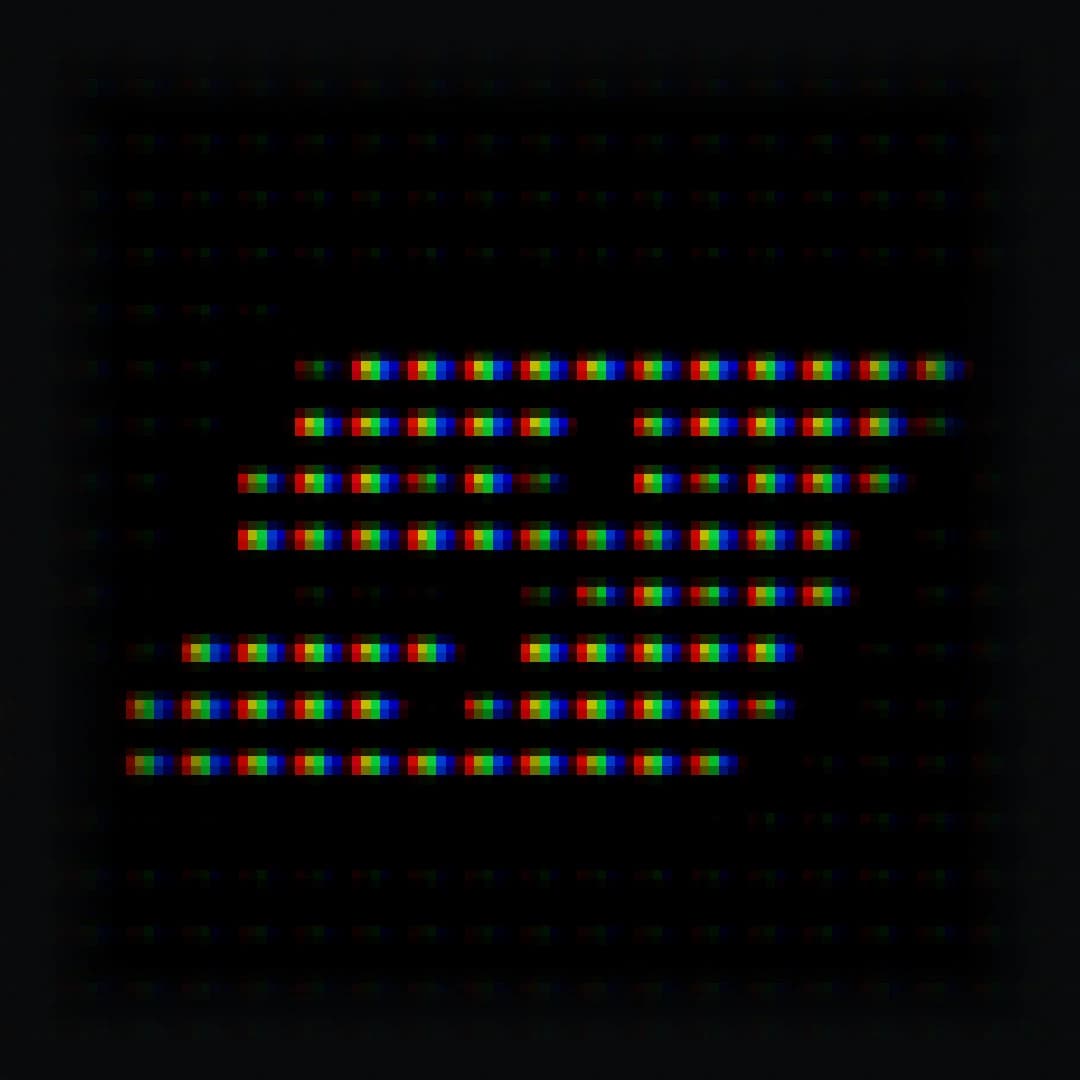

Showing True RGB
10 Built-in effects/modules
All deeply customizable and easy to use.
Dynamic Pixel Resizing
Small sizes add texture, large ones reveal individual subpixels.


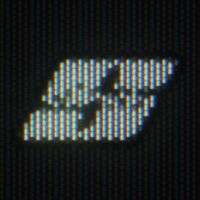
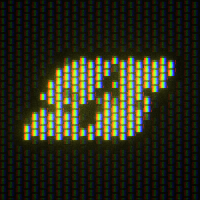
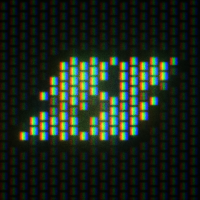
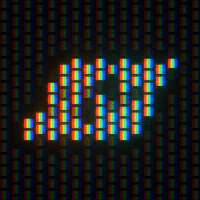
The slider is continuous in the plugin. These are 6 captured steps, so 1.25 is a setting you can dial in even though it is not shown here.
Works where YOU work
One CRT effect, on all 3 pages.
Color Page
Edit Page
Fusion Page
See it in action
Raw clips processed with Procedural CRT v2.0


The Real Way to Make a CRT Effect in DaVinci Resolve
Watch the whole thing built by hand in Fusion, for free, then the same look in seconds with the plugin, playing in real time.
Reviews
Give it a review
Every review is checked by a person before it goes live, and we can see whether the reviewer bought the product. We publish reviews from buyers and non-buyers alike, but fake or purchased reviews are removed.
Frequently Asked Questions
How To Install
Before you start
- 1Download the latest package from your library at sh4rkk.com/library and extract the ZIP anywhere. The Desktop is fine, just keep the files together.
- 2Have your license key ready. It is on that same library panel, behind the eye toggle, and on your Lemon Squeezy order too.
- 1Fully quit DaVinci Resolve. Closing the window is not enough: Resolve only scans for plugins at startup.
- 2Run 'Install Windows.bat'.
- 3Allow the Windows prompt. It appears because the installer script is not signed.
- 4Read the license, click Agree, then click Install.
Then, on either one
- 1Open DaVinci Resolve and go to the Edit page, then Effects, OpenFX, Filters, Procedural CRT.
- 2Drag Procedural CRT onto a clip and open the Inspector.
- 3Paste your license key into the License Key field and click Activate Plugin, then reset the plugin and it is fully activated.
You can also read the full documentation here.
Why it is the best CRT plugin for DaVinci Resolve
Every other option is a macro, a fuse, an overlay pack, or Studio only.

8 pixel patterns, not one look
Straight, Shifted, Aperture Grille, Slot Mask, Shadow Mask, LCD Grid, LED Wall, Dot Matrix, in 3 RGB modes.
See all 8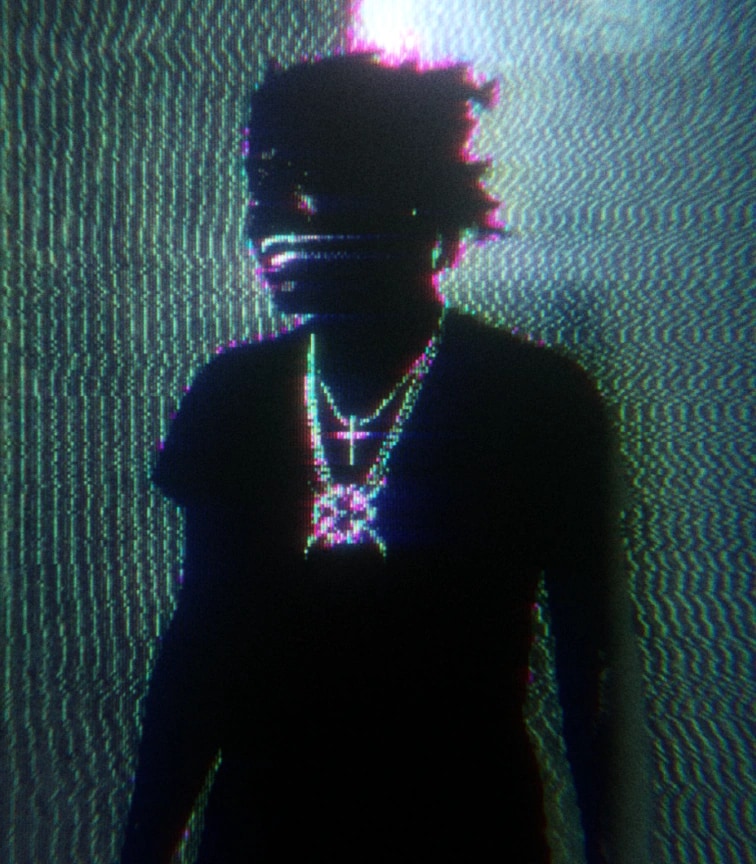
318fps
It renders on the GPU
1080p at defaults on an RTX 3060, measured on the real pipeline. A fuse doing the same job manages around 18.
See every device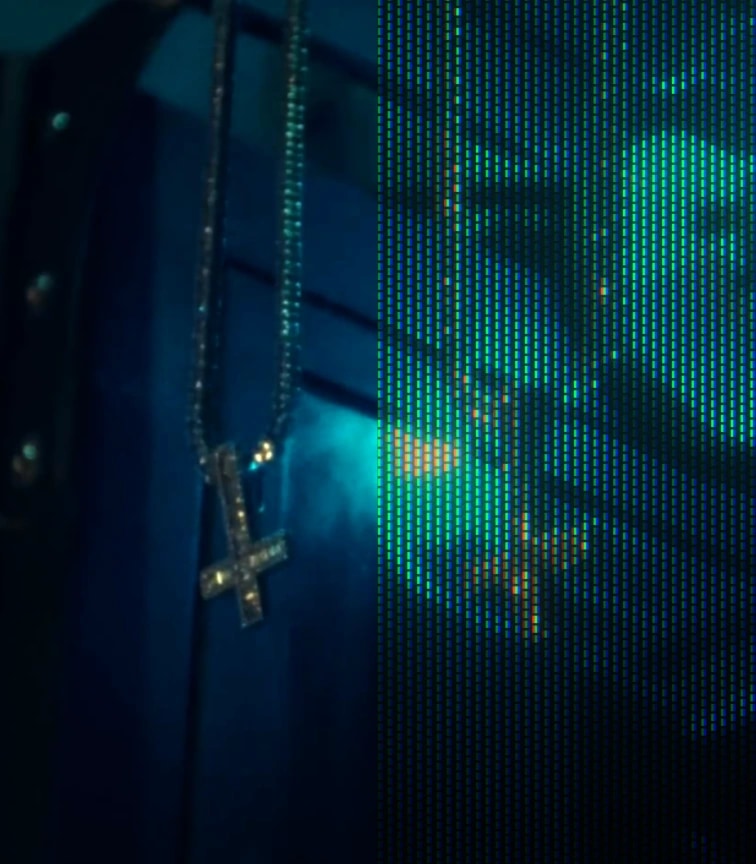
Nothing here is an overlay
No stock clips, no grain plates, no LUTs. Every stage is generated from your own frame, so the mask lines up with your pixels.
See the effectsIt works on all 3 pages
A clip on the Edit page, a node on the Color page, a comp on Fusion. A fuse or macro only exists inside Fusion.
See it on each page
It runs in free DaVinci Resolve
Not Studio only. OFX plugins load in the free version exactly as they do in Studio, with no watermark and no feature gate.
Read the answerPresets drawn on your footage
Every tile is the frame you are parked on with that preset, not a demo reel.
See the panelA CRT Built Pixel by Pixel
Every stage of the CRT is a control you can set. Nothing is baked in.
More from sh4rk
Procedural CRT works alongside these.

Procedural VHS
$12.90Far more than cheap filters and overlays. Real tape damage generated from your own footage, with interlacing, head switching and chroma noise on separate controls.
View product
sh4rk's Retro Bundle
$28.90Procedural CRT and Procedural VHS together. Analog damage generated from your footage, not overlay clips laid on top.
View productCombine With
Stack these with Procedural CRT for heavier signal damage.


Last updated 12 September 2026